Maximize HVAC Efficiency
How to Keep Cozy & Save Cash:
 Maximize Your HVAC Efficiency This Winter
Winter is coming! But before you stockpile blankets and prepare to hibernate, let’s talk about how you can keep your home toasty without sending your heating bill through the roof. There’s a lot you can do to ensure your HVAC system runs efficiently (and saves you money), but we’ll also sprinkle in a few tips on how to keep warm. So, grab some hot cocoa, and let’s dive in!
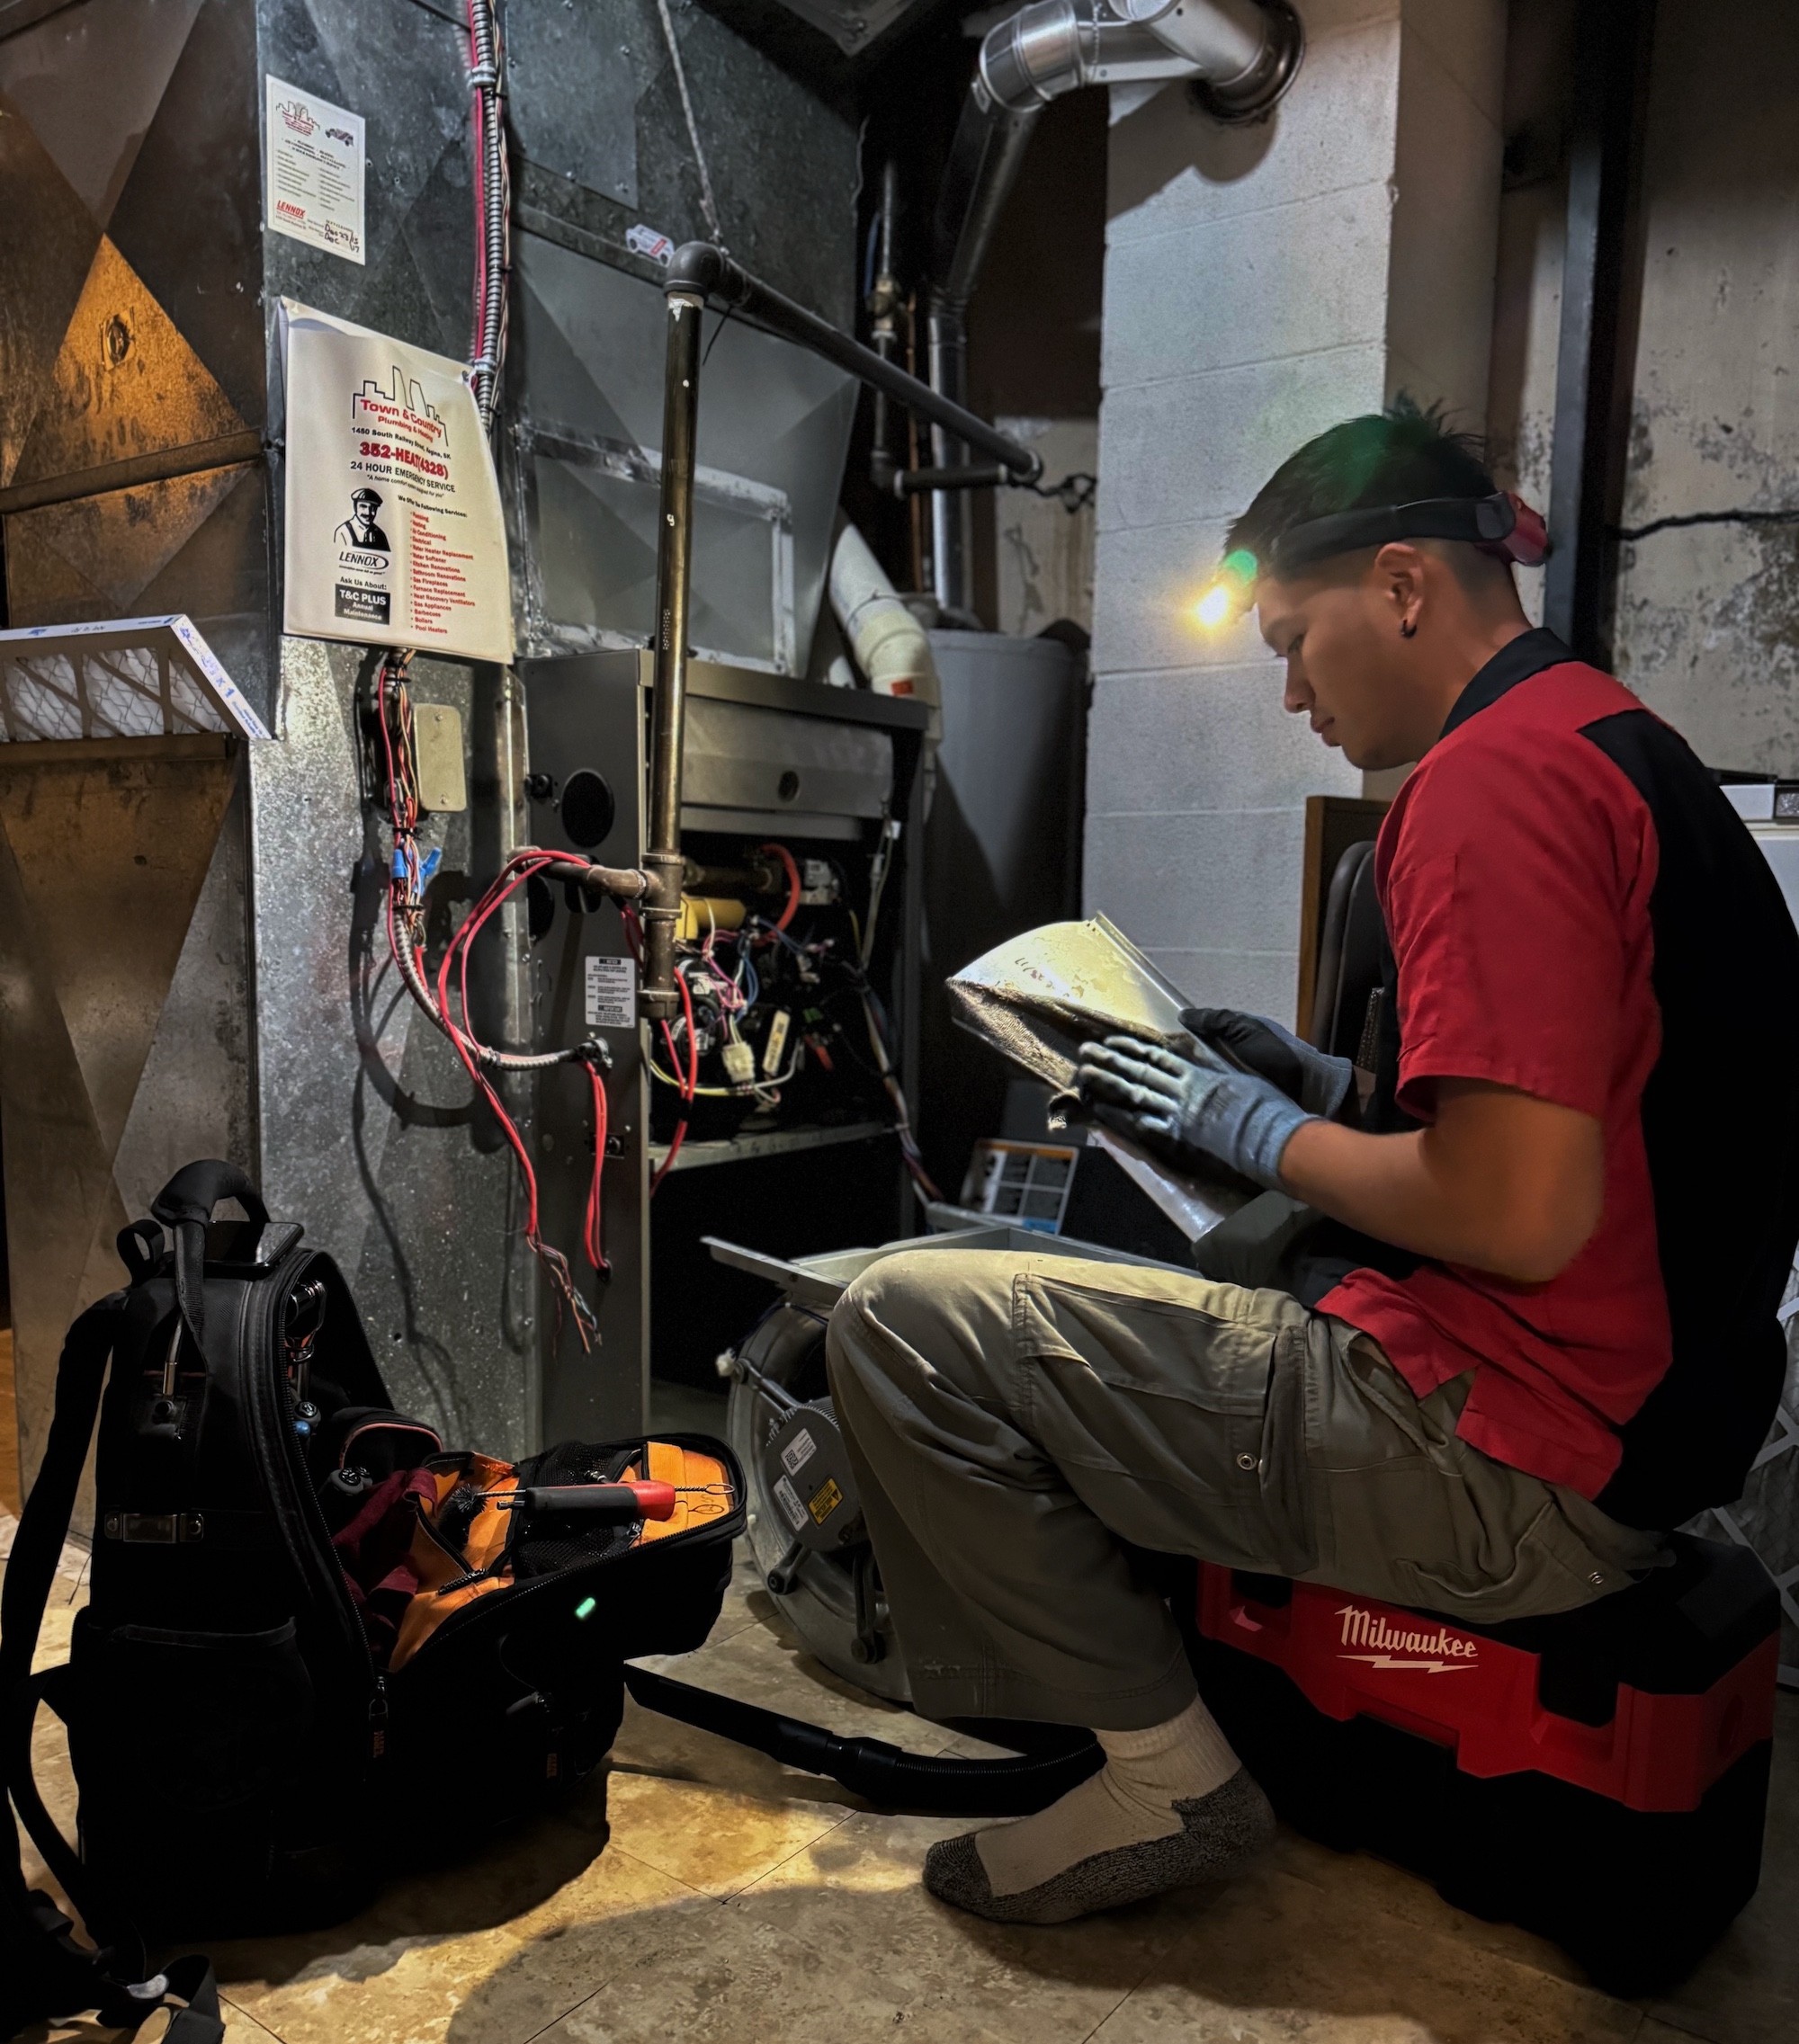
Tune-Up Time
Just like your car needs a regular oil change, your HVAC system needs a seasonal check-up. Regular maintenance will keep your HVAC system running at its peak efficiency. Our HVAC tune up team can spot issues before they turn into expensive repairs. They ensure everything is running like a well-oiled machine.
Pro Tip: Schedule an appointment early in the season before the first real cold snap hits. This helps you avoid emergency service calls when everyone else is in a rush to get their furnace back up and running!
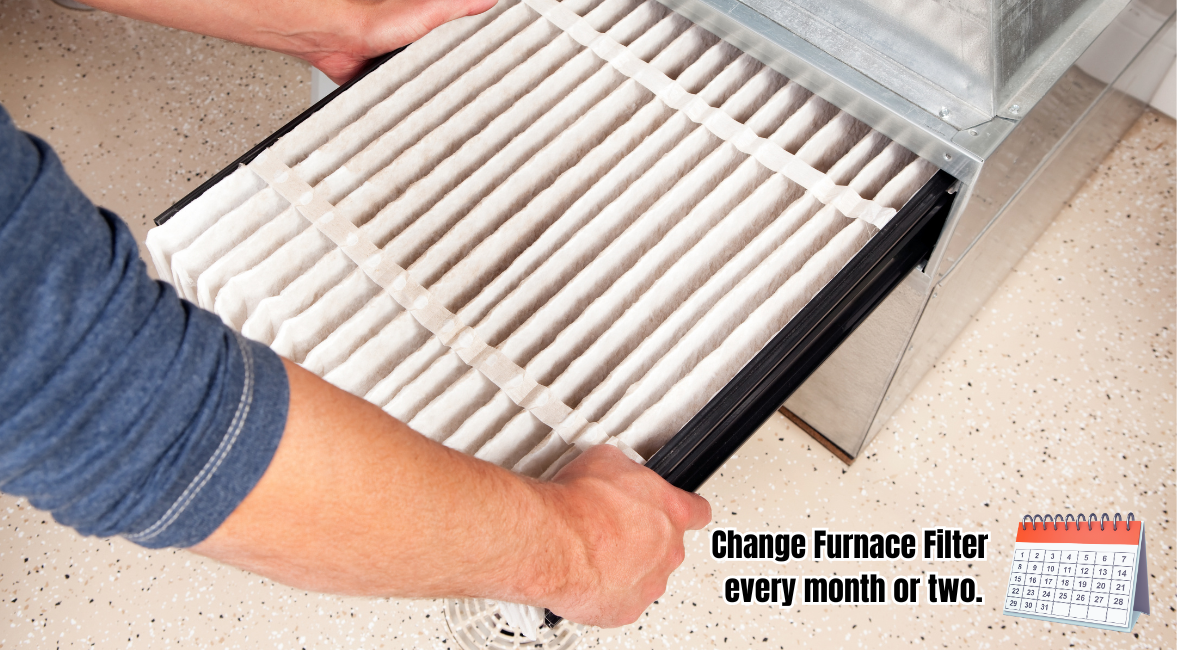
Change that Filter
A dirty filter makes your HVAC system work harder, which means more energy and higher bills. Aim to swap out your filter every 1-2 months during the winter. You’ll enjoy better airflow, cleaner indoor air, and a more efficient system.
Bonus: You’ll also notice less dusting required in your home. YAY!
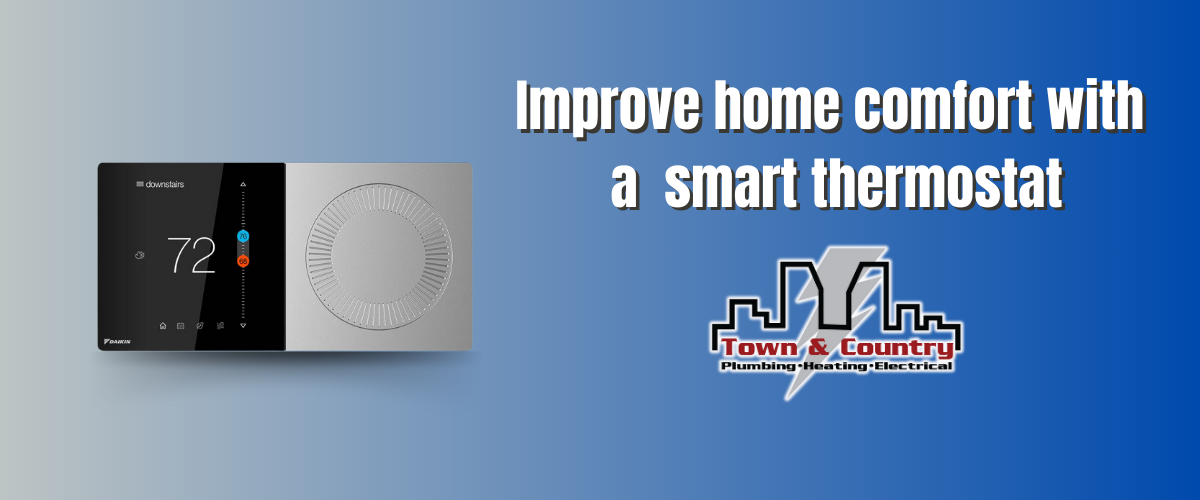
Let’s Talk Thermostats
Want to lower your heating bill? The simplest way is to set your thermostat temperature a little bit lower, especially when you are away from home or when you are sleeping. Don’t have a programmable thermostat? Give us a call. We offer a variety of options and our team can professionally install it for you.
Imagine this: while you’re out building snowmen or watching movies in bed, your thermostat adjusts automatically. Set it to warm up before you get home or wake up, so you stay comfy without wasting energy. Going to be home a little sooner than your usual programming, use an app on your phone to boost the temperature in your home before you get there. Looking for a smart thermostat? Check out our Daikin options: Click here.
Seal it so you don’t feel it!
Drafts are like little thieves sneaking heat out of your home. Check your windows, doors, and even electrical outlets for drafts. You can use weatherstripping, caulking, or door sweeps to seal up these areas. Not only will your home stay warmer, but your HVAC system won’t have to work overtime to replace that lost heat.


Embrace the Sun
Sunny winter days can be your best friend. Open up your curtains or blinds during the day to let the sunshine in. It’s free heat! And when the sun goes down, close your curtains to help trap the warmth inside.

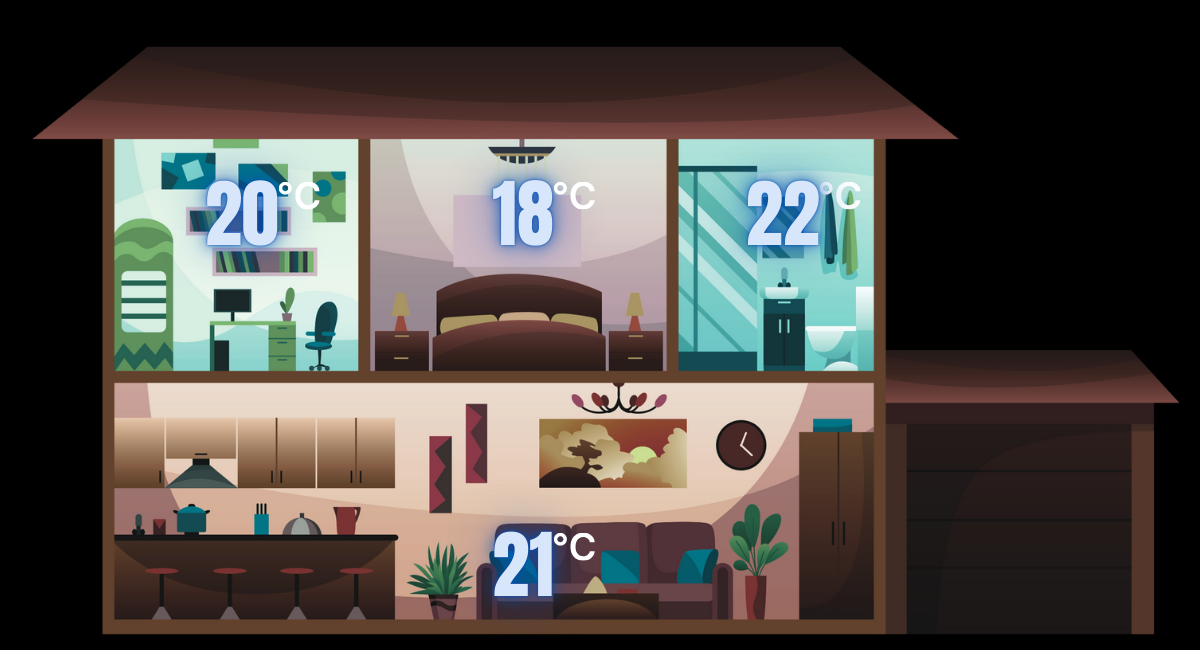
Zone your Home
If you’ve got a big house or rooms that don’t get much use, consider zoning for your HVAC system. This lets you control the temperature in different areas of your home individually, so you’re not heating rooms that no one is using. Efficiency, meet comfort!
Zoning also allows for adjustable comfort. Maybe you like your bedroom warmer than your teenage son. Set the zones and everyone can be comfortable.
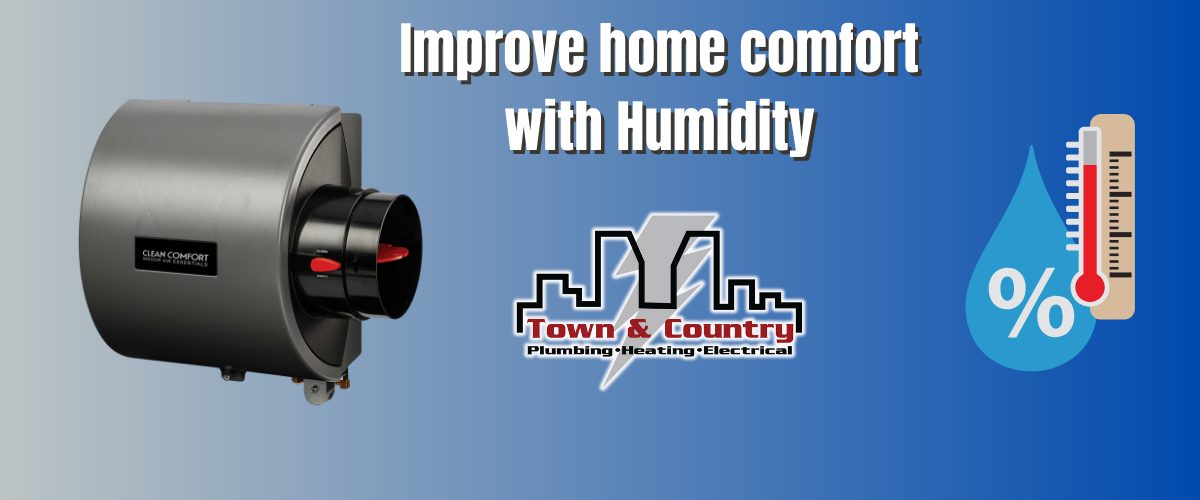
The Humidifier Hack
Cold air tends to be dry, which can make your home feel chillier than it actually is. A whole-home humidifier can help by adding moisture to the air, making it feel warmer. Increasing the relative humidity in your home will allow you to lower your thermostat setting and still have the same comfort level. As an added bonus that extra humidity is great for your skin and sinuses and you will appreciate it during our dry winter months. Win-win!
Looking for a humidifier upgrade, we recommend Clean Comfort Indoor Air Essentials. Click for details.
Insulate, Insulate, Insulate
Insulation is your secret weapon for a warm home. Check your attic, walls, and crawl spaces to ensure you’ve got enough insulation. Upgrading or adding insulation can drastically improve your home’s heat retention and reduce the workload on your HVAC system. It not only helps keep your home warm but it will also help keep your home cool in the summer.

Invest in your HVAC System
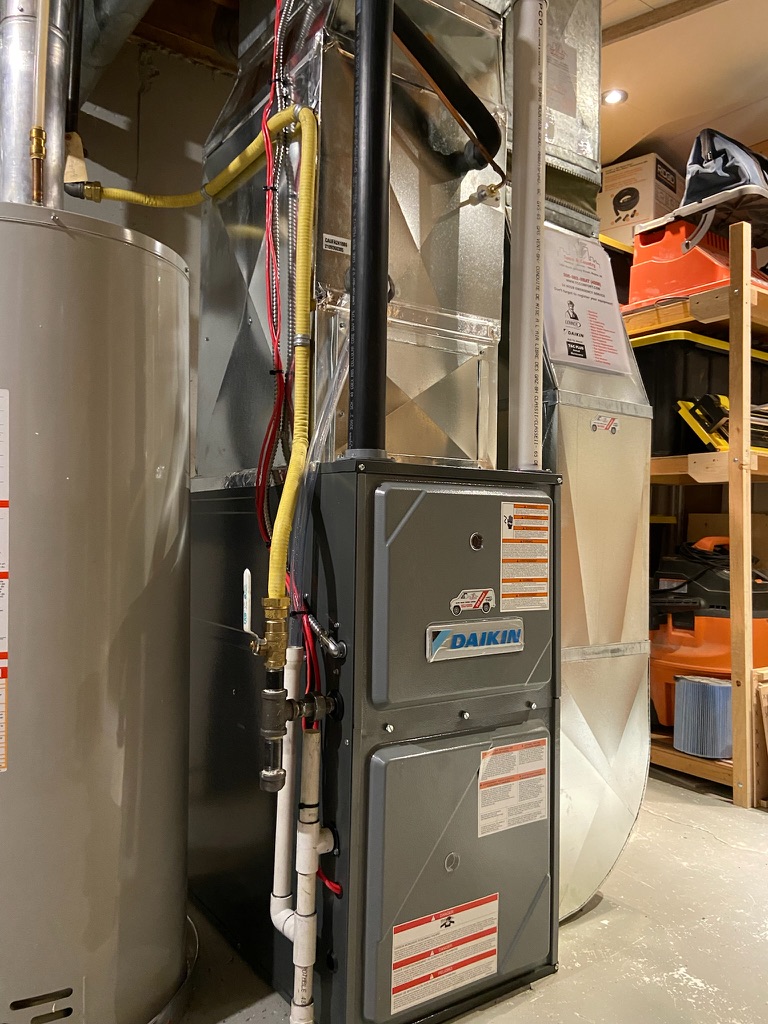
Upgrading to a high-efficiency HVAC system can be a game-changer. Modern systems are designed to use less energy while providing the same level of comfort and, of course, they come with some pretty sweet warranties (like the ones we offer with our Daikin equipment. Plus, over time, the savings on your utility bills make it a worthwhile investment. SaskEnergy Rebates are currently available for furnace replacements when upgrading to a high efficiency model. Get in touch today for a free quote from our professional team.
Stay Cozy and Enjoy an Efficient HVAC System
Winter doesn’t have to mean skyrocketing energy bills. With a few easy changes, you can keep your home warm and your HVAC system running smoothly. Whether it’s a little TLC for your current system, smart thermostat tricks, or sealing up drafts, these tips will help you stay cozy while saving cash.
Got questions about your HVAC system or need a furnace tune-up? Give us a call—we’re here to help!
Now, go ahead and comfortably enjoy winter.
Furnace Season is Here
Why Should You Buy a Furnace with Town & Country?
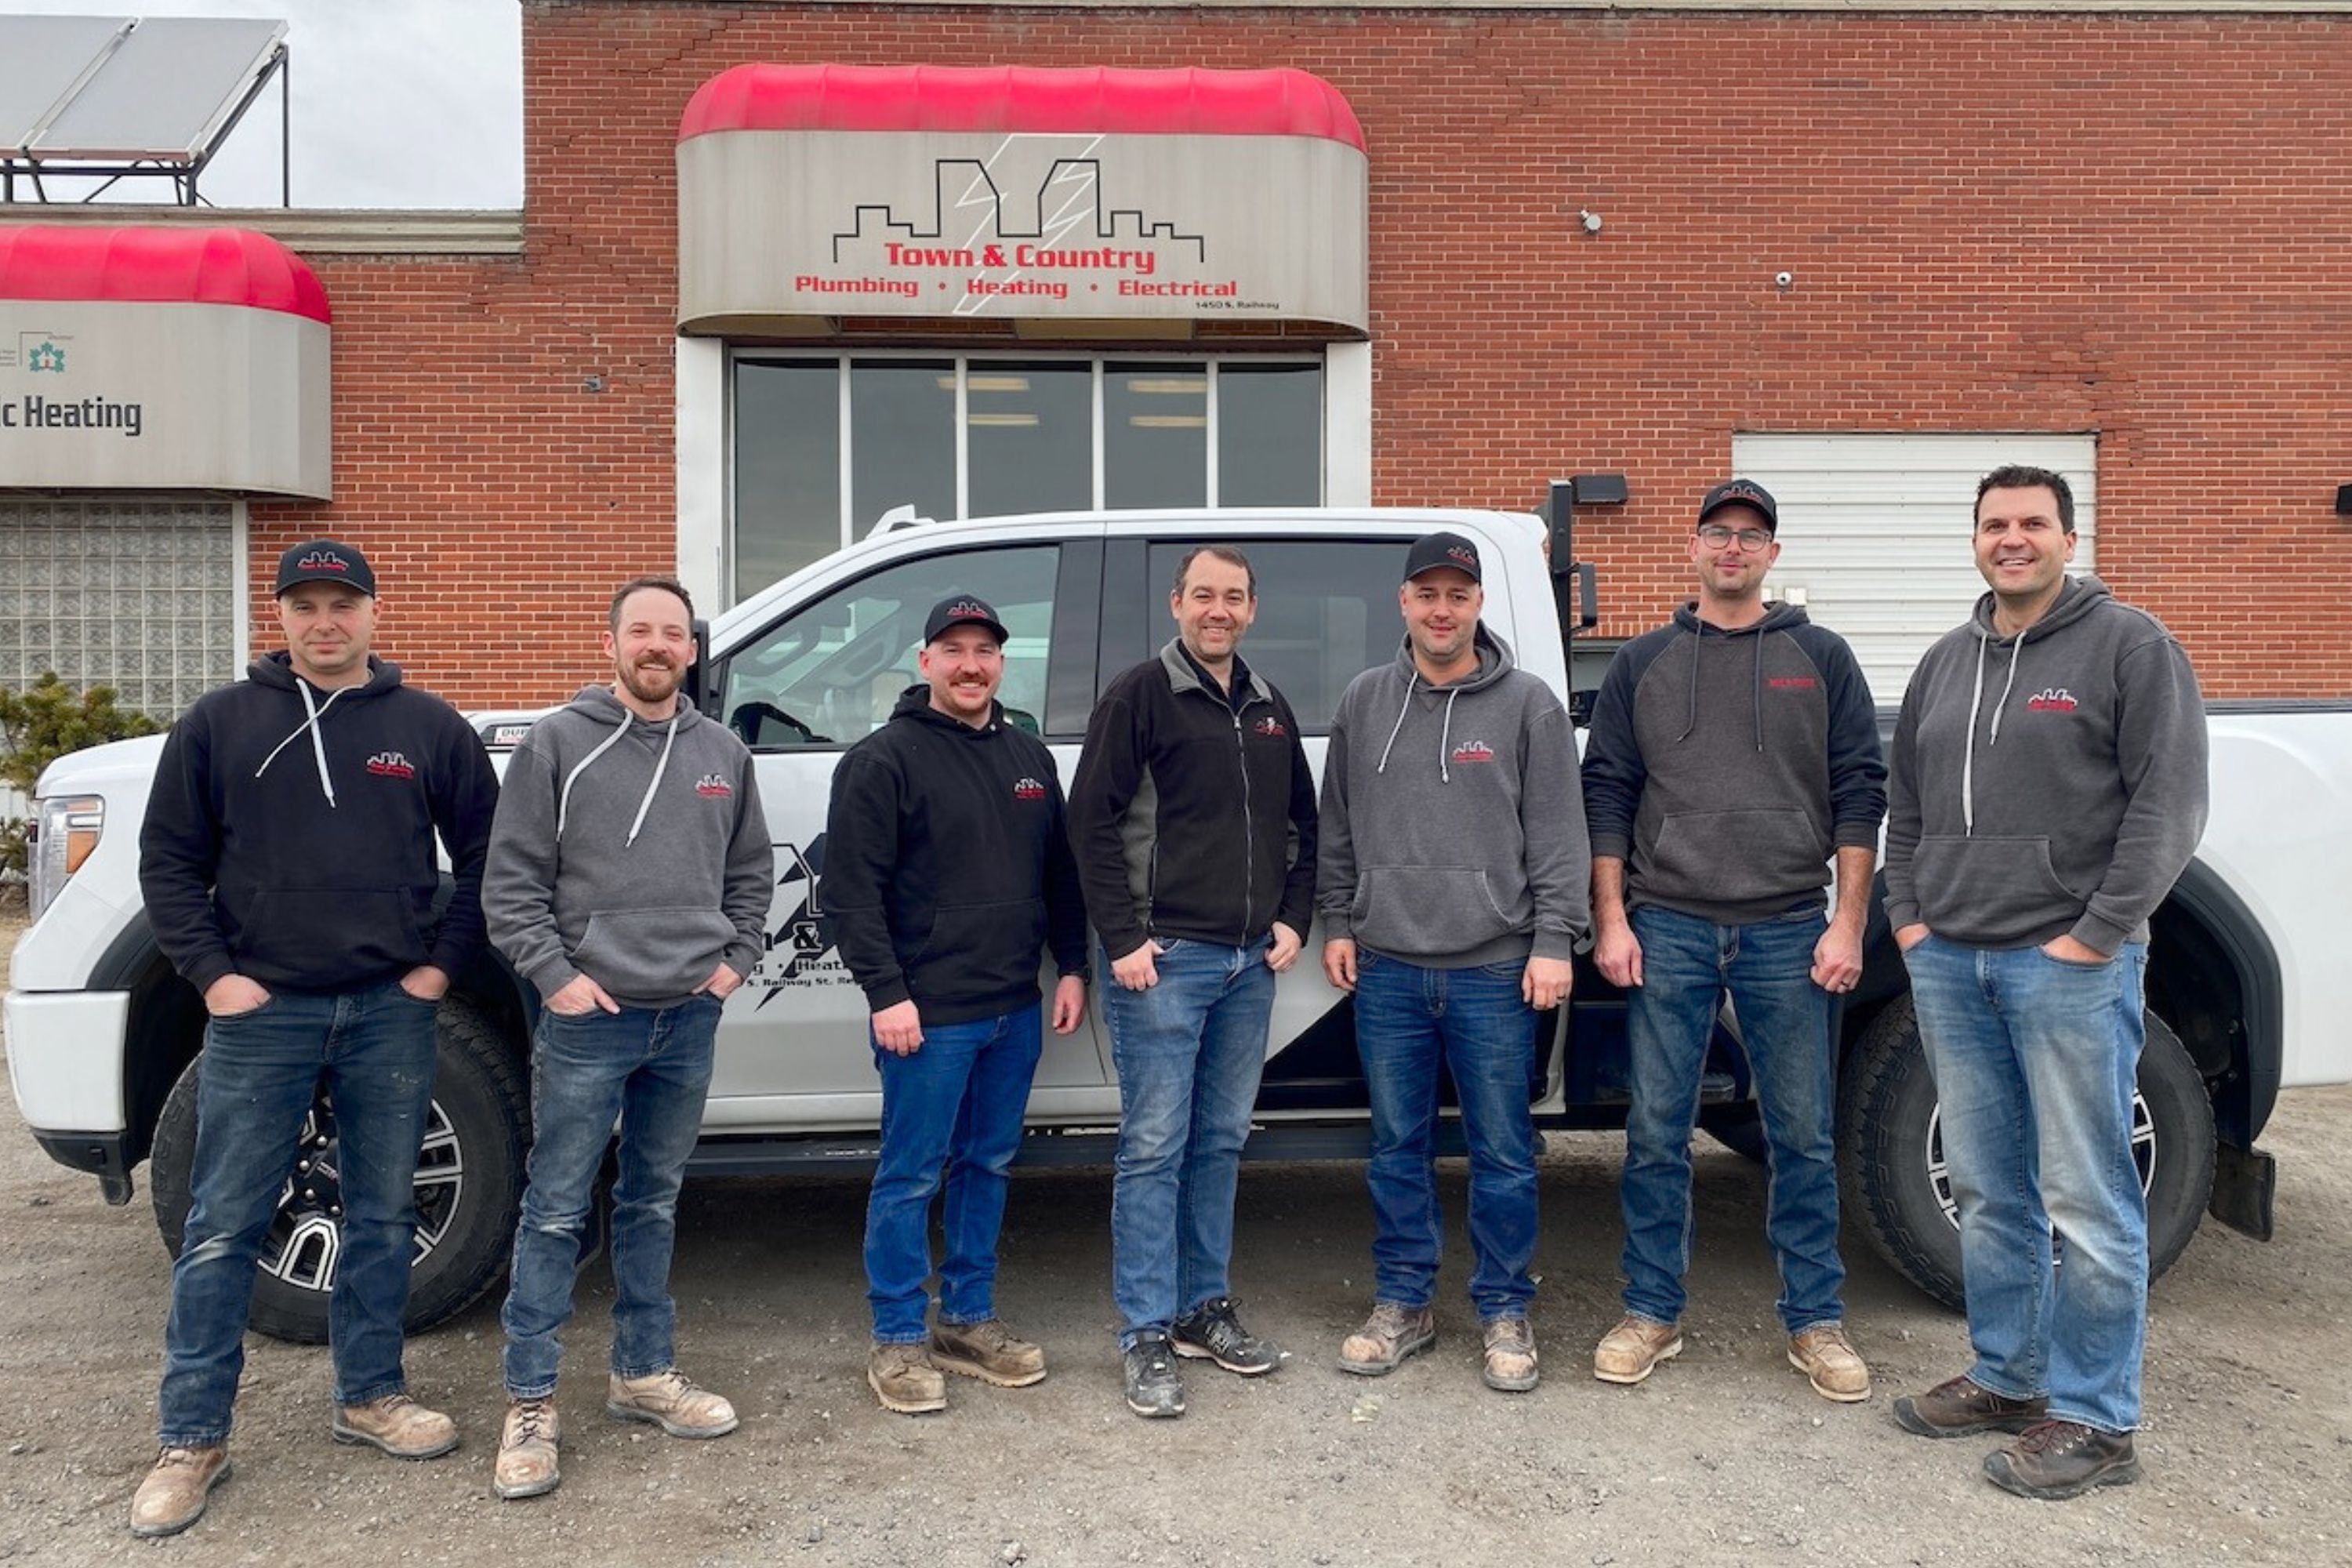
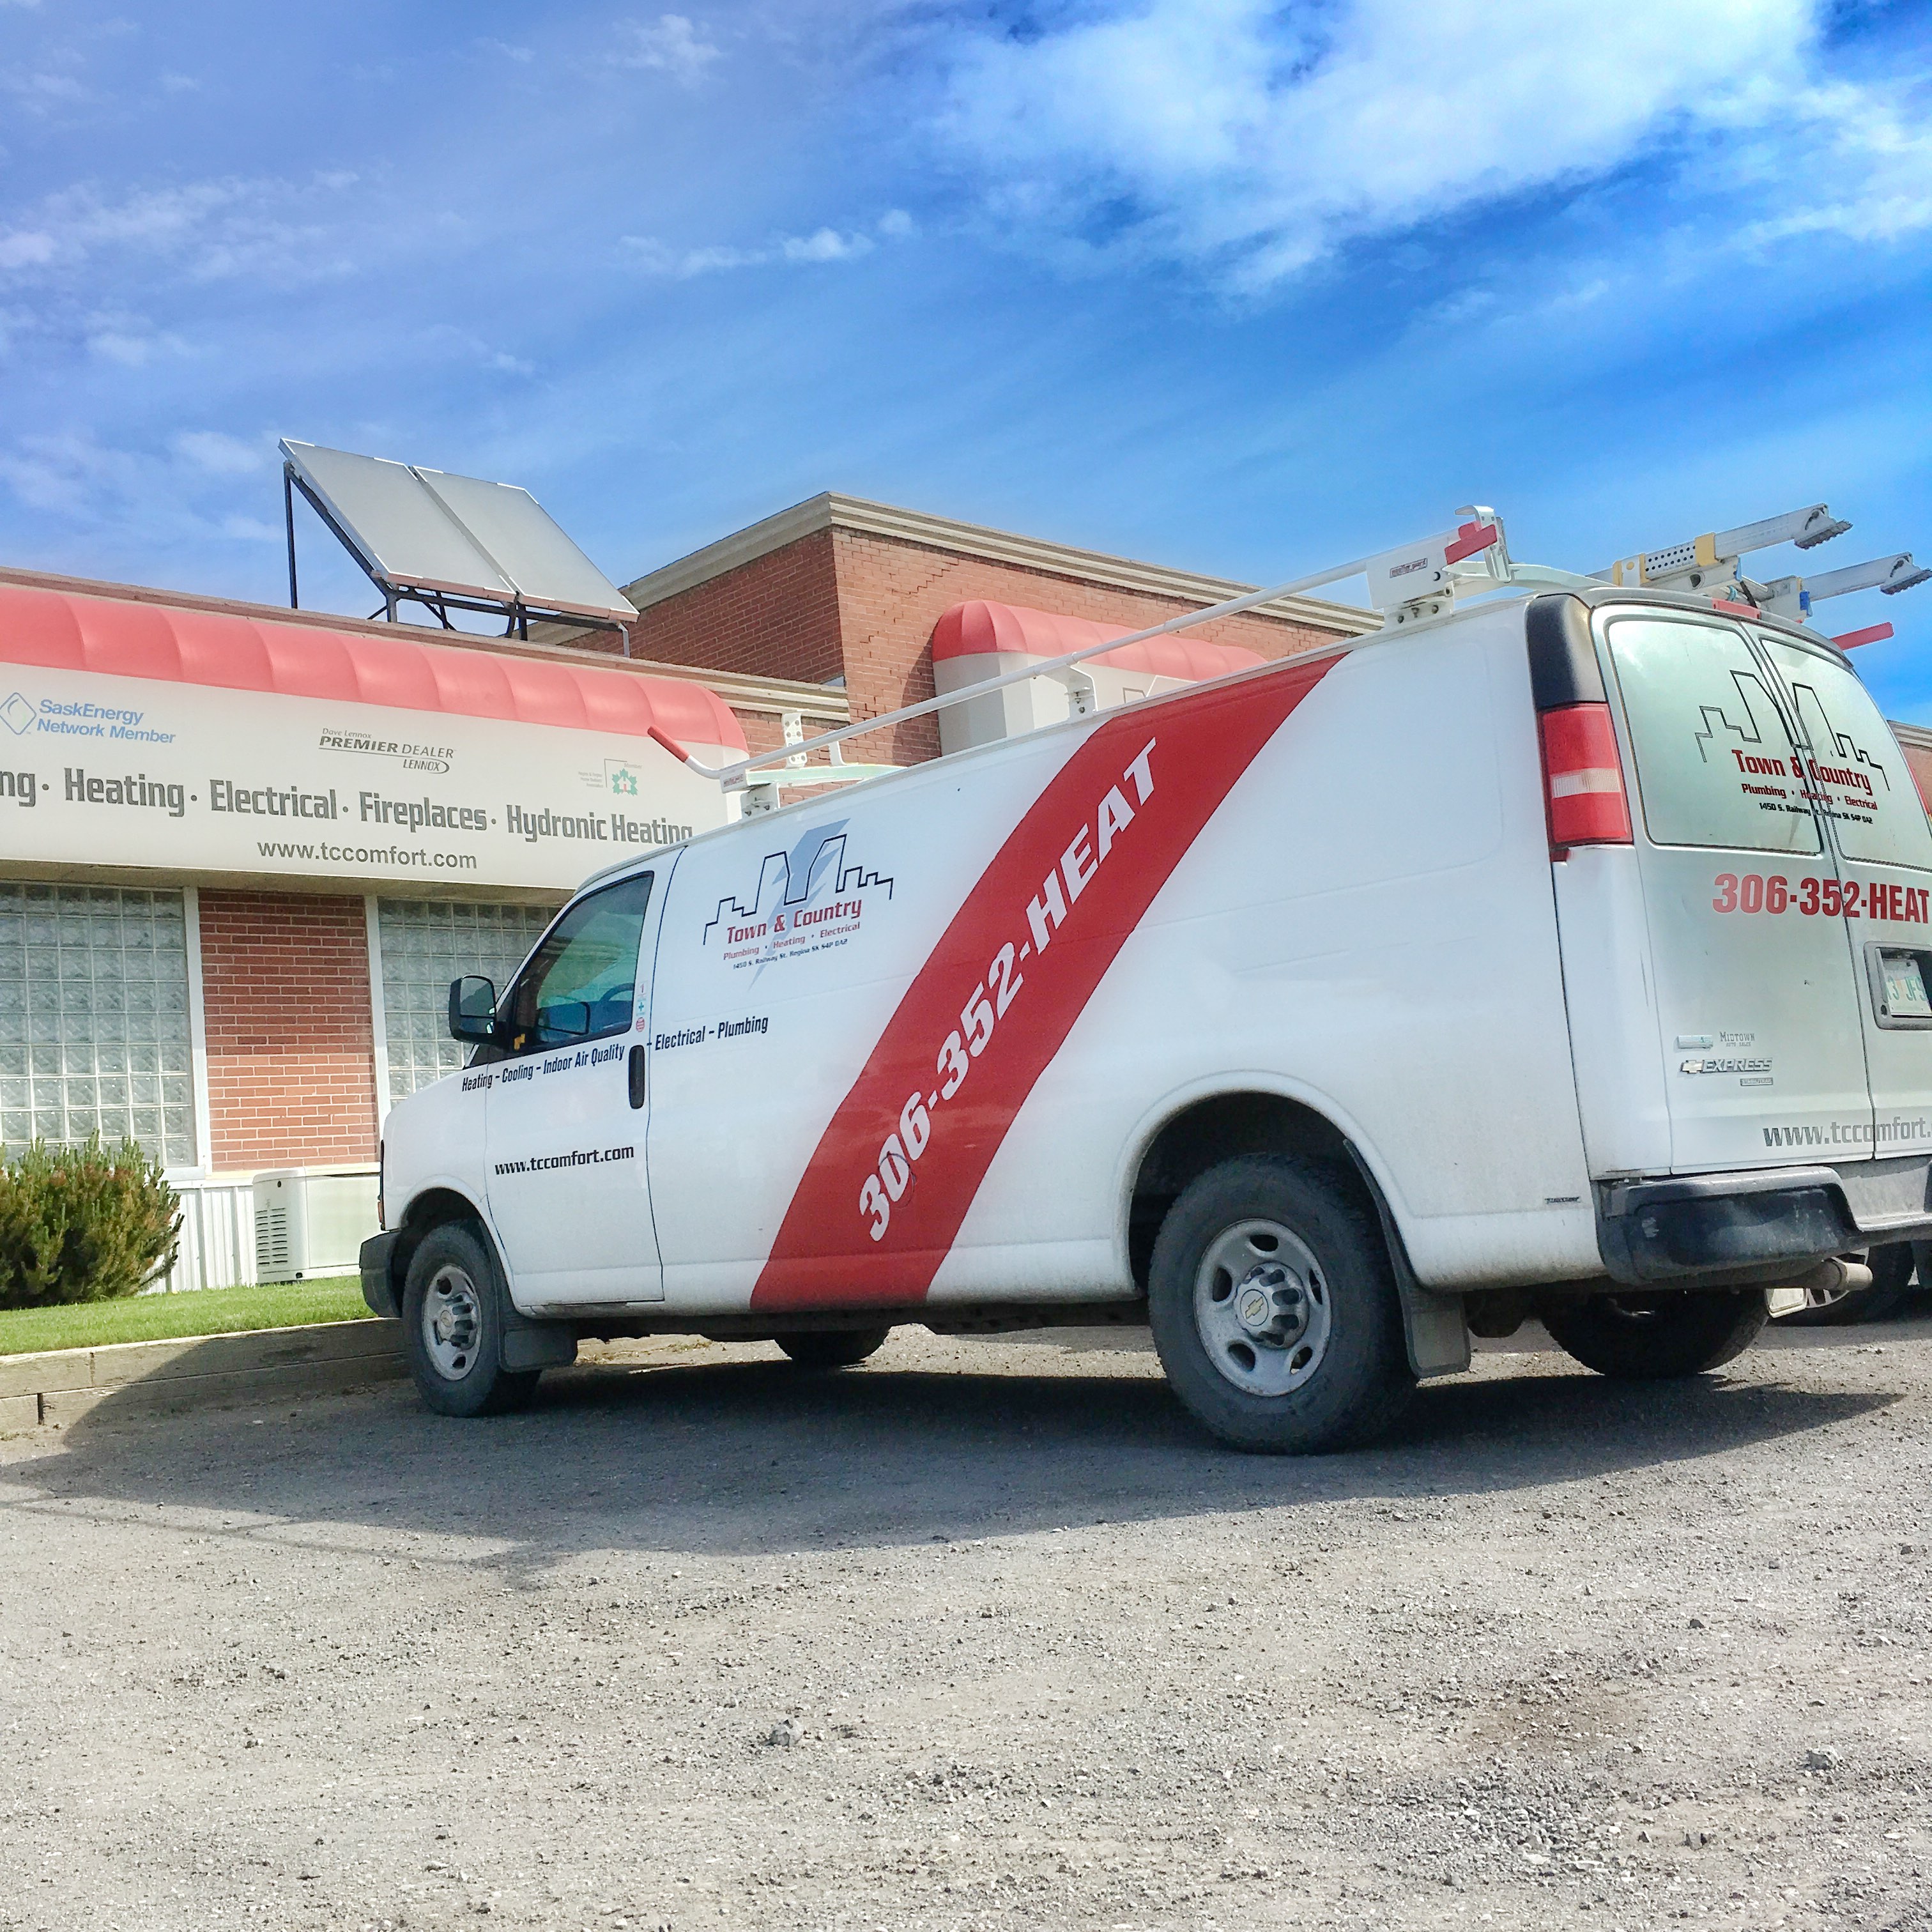
We’re 100% locally owned. Town & Country is owned by a group of local men who live in and around Regina contributing to the community in a variety of ways. Many of our owners are tradespeople including plumbers, sheet metal workers, and electricians. They not only act as owners but as mentors for our young apprentices.
We’ve done the research so you don’t have to? What do we mean by that? We’ve researched our products seeking out the highest quality, best warranties, and most serviceable products. We choose to install products with long life spans but also products that can be serviced for a reasonable cost so that your investment goes a long way.

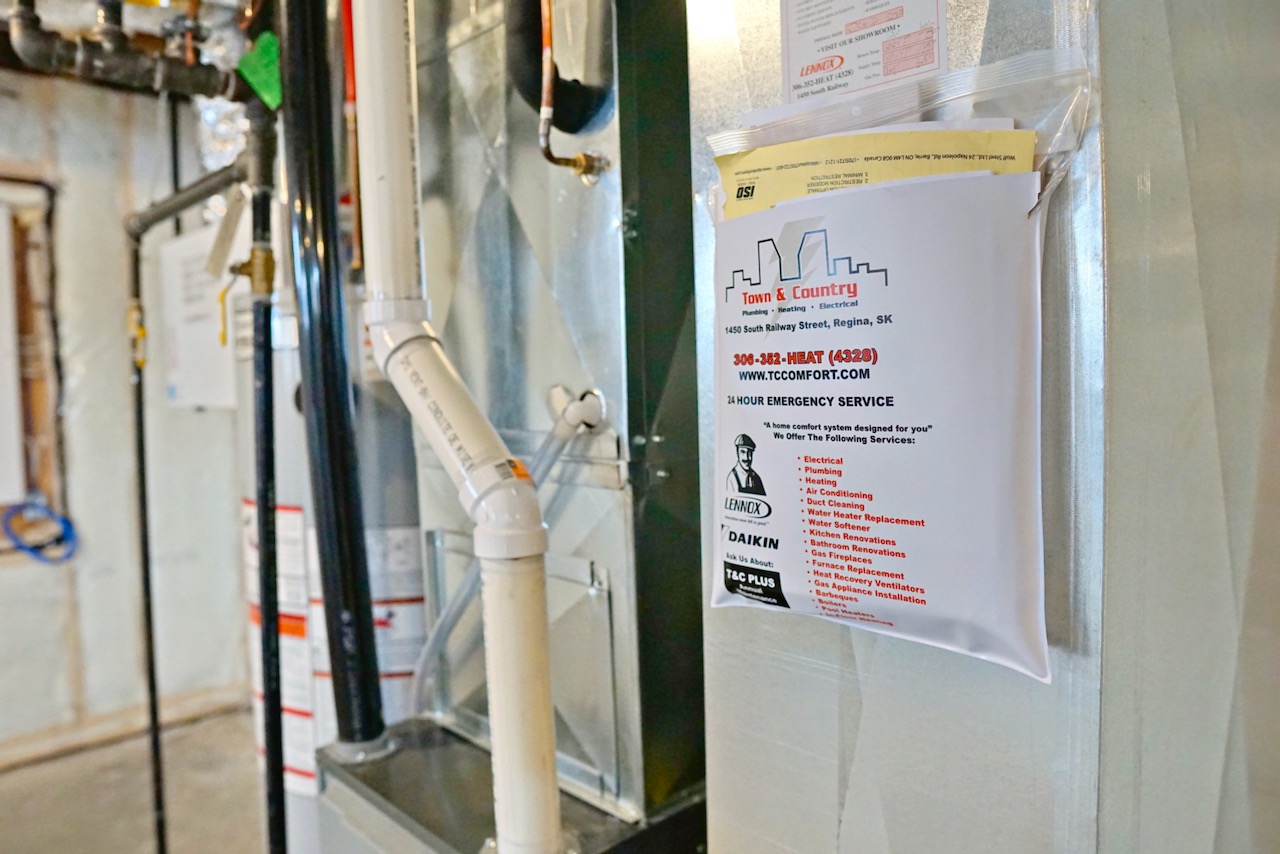
Our service department is housed within our business. That means that when you call us for service during regular business hours we answer the phone personally and our dispatch team sends out our service technicians.


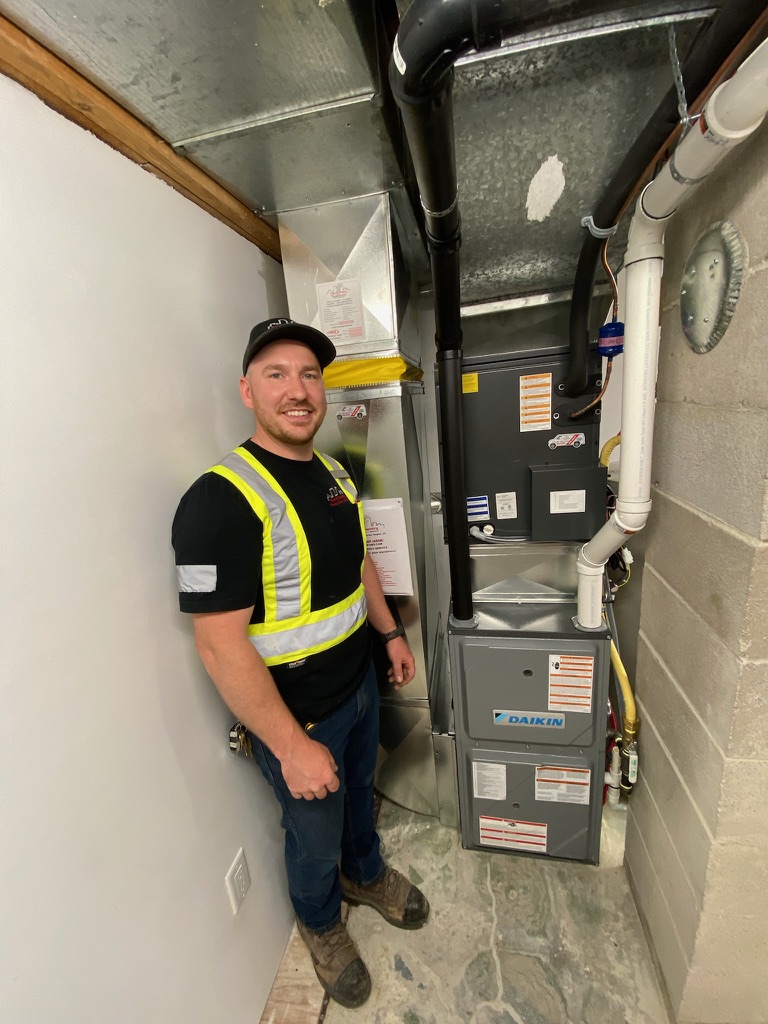
We have a team of skilled, certified trades people. When we come to your home to do an install you can be assured that the team will be lead by a qualified journeyperson and it’s likely they will have an apprentice with them. We bring years of experience to every install and often we are also in the process of training our next generation of installers. We are dedicated to quality craftsmanship and expert installations.

We’re firmly established. Town & Country has been serving the people of Regina and area since 1963. We’re one of the longest running plumbing and heating companies in Regina. You can trust that if you purchase your furnace with our company we will still be around to honour your warranty and keep your furnace running smoothly with regular maintenance.
We offer a Customer-Centric approach with personalized solutions, tailored to your home’s specific needs. Our Home Comfort Consultants come to your home and take the time to understand your requirements and recommend the best system for your space, ensuring comfort and satisfaction.
Looking for a quote? Get in touch today and we will put our team to work to make your home as comfortable as we can.
Electric Vehicle Chargers
So you are interested in owning an electric vehicle but you are not sure what you need in order to charge that vehicle at home. Let’s take a minute to go through it for you.
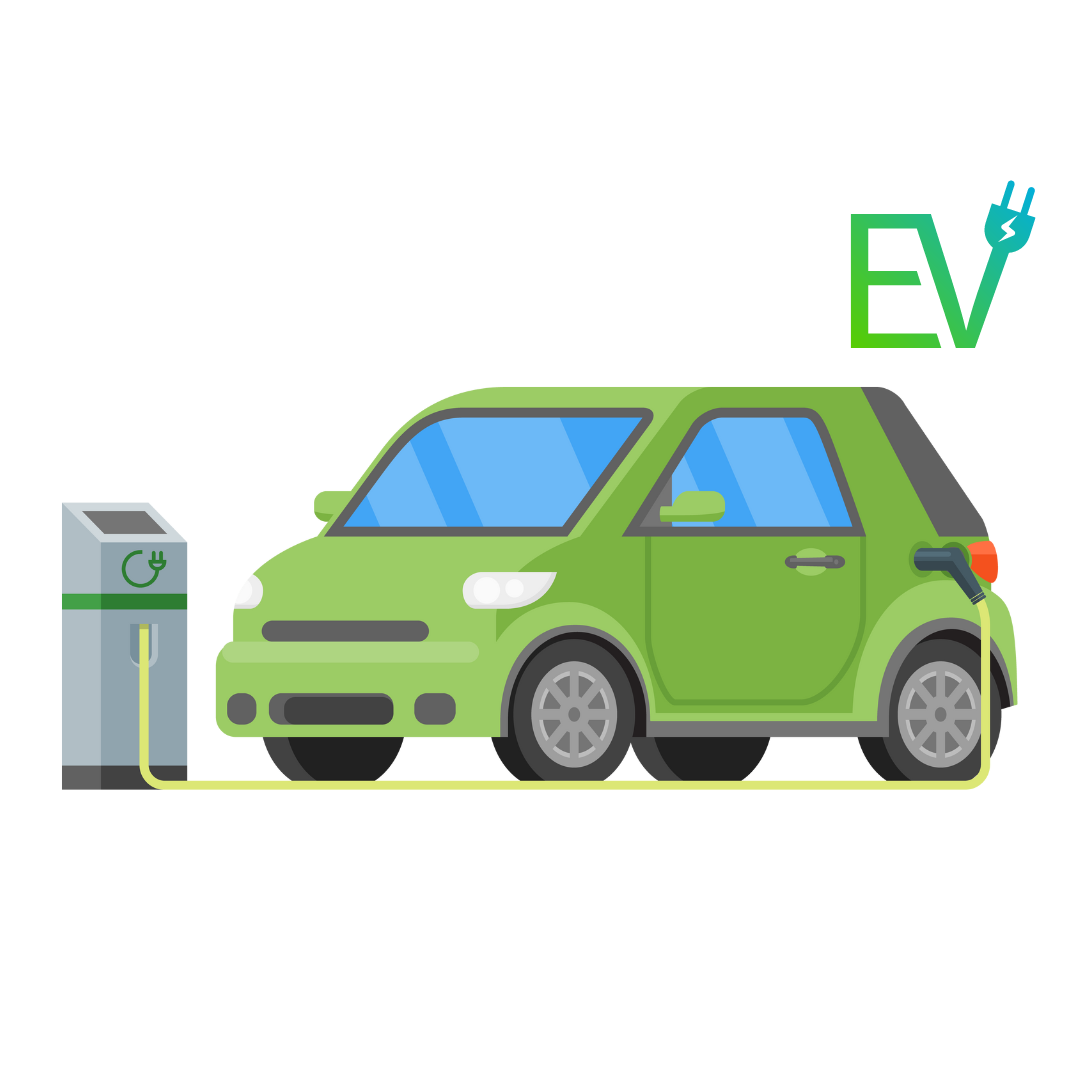
There are three types of EV chargers:
Level 1 Charger: (Trickle Charger)
This is a standard 120-volt charger that comes with most electric vehicles. It plugs into a regular household outlet. The disadvantage is that it charges very slowly and may only add 6-8 km of range per hour. This is clearly not enough if you drive regularly. This also becomes a problem when trying to preheat or pre-cool your vehicle before your departure while the vehicle is plugged in. In extreme heat or cold, it is advantageous to set the interior climate of your vehicle while it is still plugged in. That way it uses energy from the plug in rather than energy from the battery to create a comfortable interior climate. The Level 1 charger will not provide enough power to do this and the car will rob energy from your battery, and therefore your range, in order to make the interior climate comfortable.
The advantage of Level 1 charging is that it is the simplest and easiest and requires no electrical upgrades to your home.
Level 1 Chargers also make sense for owners of plug in hybrids. Because these cars have relatively small battery packs they take less time to charge up completely.
Level 2 Charger:
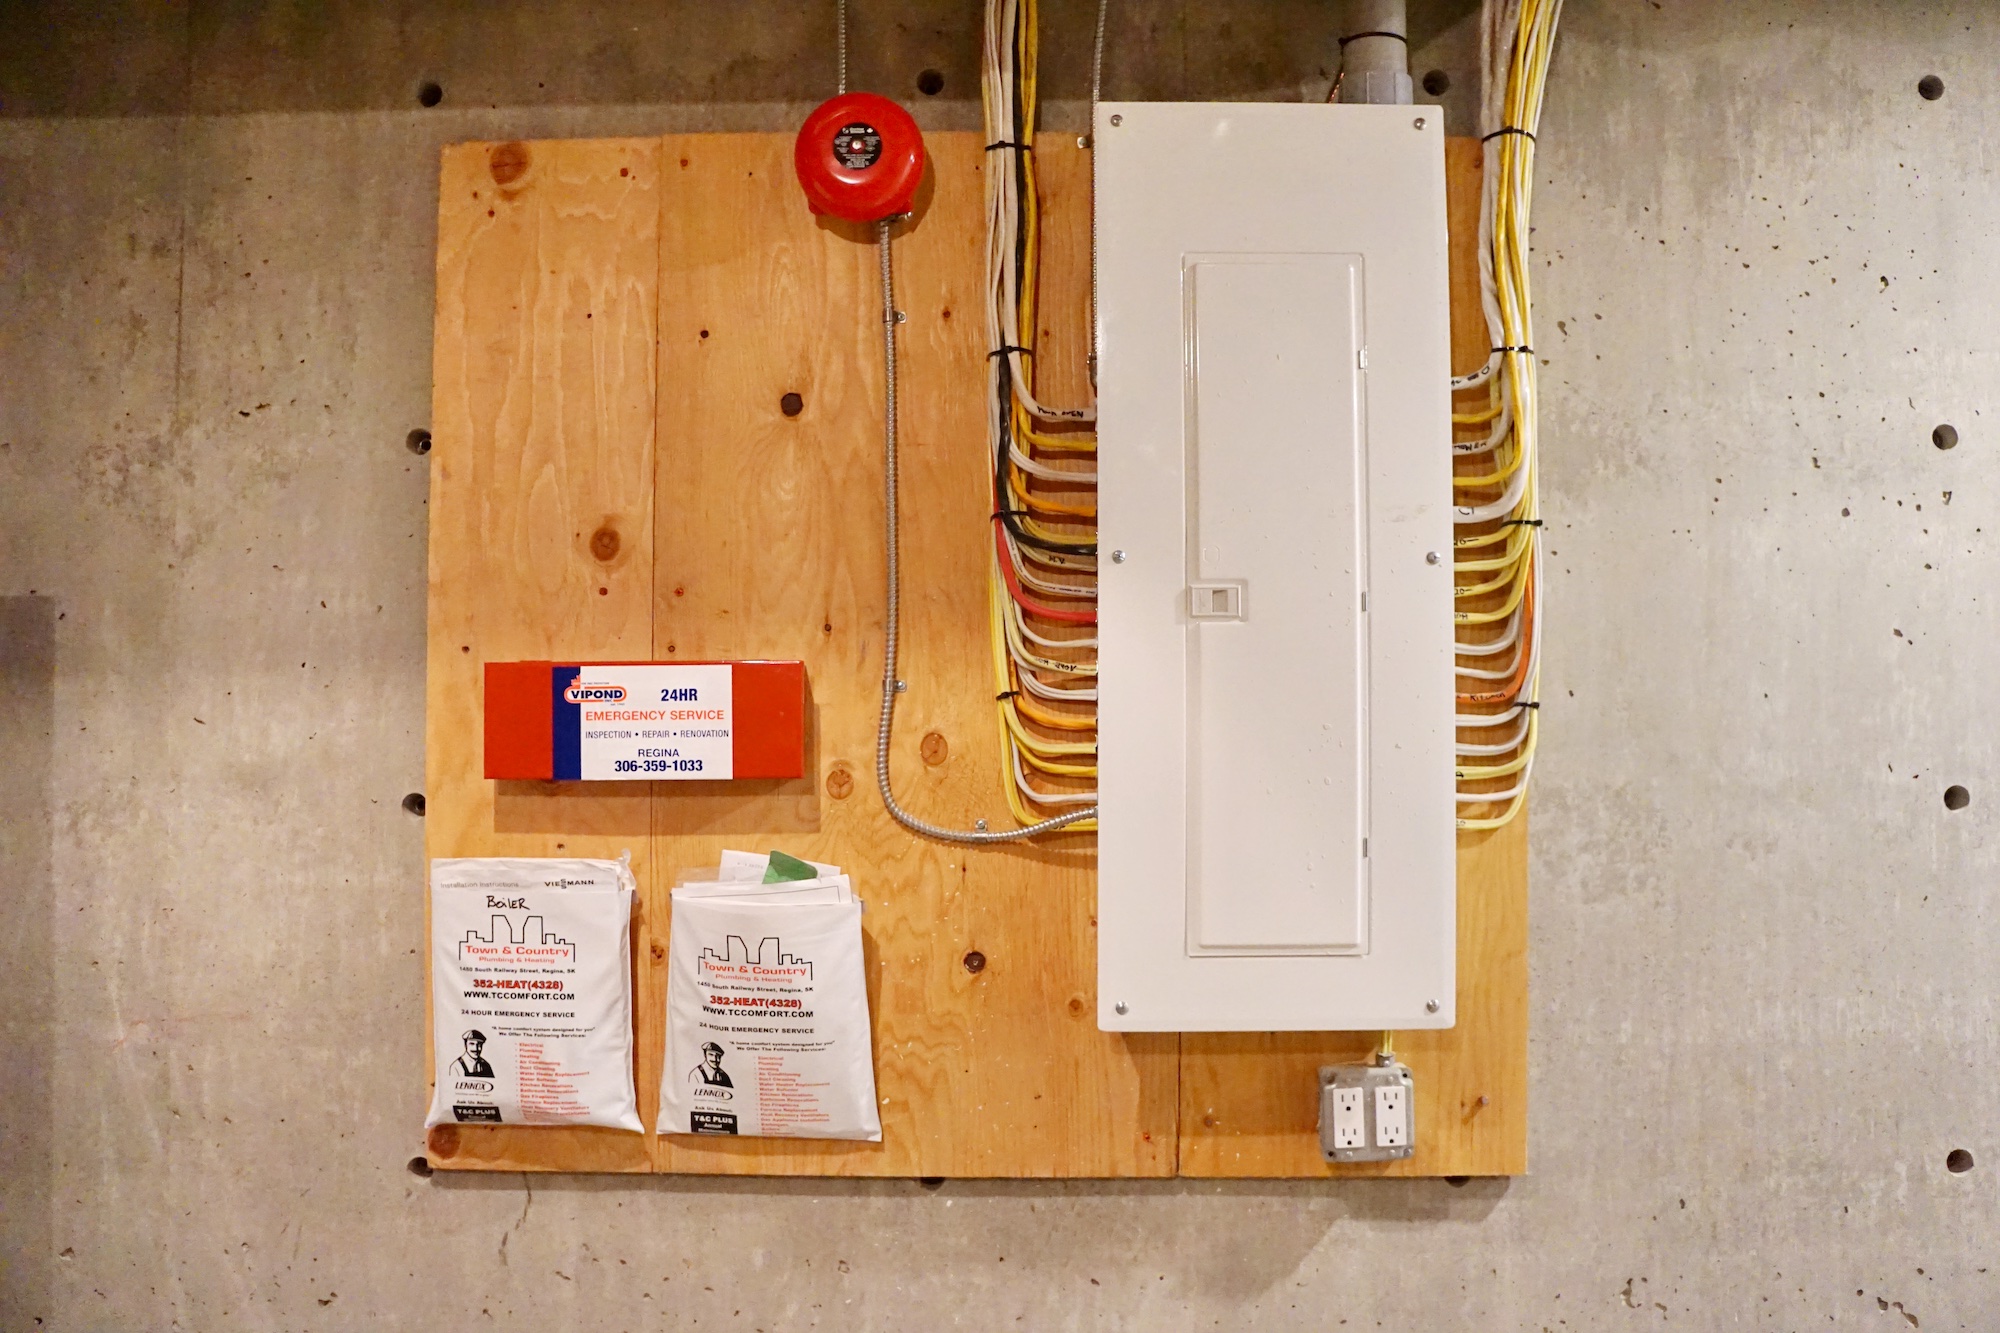
The Level 2 Charger is a 240 volt charger that requires a dedicated circuit similar to ones used for dryers or ovens. It charges the vehicle much faster, typically at a a rate of 25 to 100 km of range per hour according to SaskPower’s website. These chargers do require professional electrician installation. The first thing our electrical team will do is determine whether your home’s electrical panel has the capacity to handle this load of output. You may need to upgrade your electrical panel in order to meet the new demand. Our electrical team will also apply for necessary permits to perform the work of installing a Level 2 Charger. This ensures that the charger meets all safety codes. While on site our electrical team will assist you in choosing the best location for your new EV Charger. The preferred location for the charger is inside a garage but weather resistant options are available. It may seem obvious but it is also important that the location of the charger is in close proximity to where you will be parking so that the charging cable will easily reach the vehicle’s charging port.
Another thing to consider is the charging rate of your station. The best choice would be a station that charges at a rate that meets what your car can accept.
As a long term investment, charging your EV at home using a Level 2 charger is the most economical and convenient way to charge up. The charger will pay for itself eventually and it may also add some resale value to your home.
Town & Country can either hardwire (permanently install) your Level 2 Charger or we can wire in a 240 volt outlet that will allow you to simply plug in a charger. The advantage of the plug in option is that you can take the charger with you if you move.
Level 3 Charger:
Just a brief note on Level 3 chargers. These are the quick public chargers you may use on occasion when you need a faster option or when you are travelling. Charging Tip: SaskPower recommends saving fast charging for when you need it most. Using fast charging puts extra strain on your vehicle’s battery and reduces efficiency and lifespan over time. This is another reason why having a Level 2 charger at home is valuable.
What about features?
If you’re going to have a charger at home it definitely makes sense for it to be wifi enabled. this will allow you to monitor and control the charging remotely using an app on your phone. It will also allow you to set your charging schedule. SaskPower recommends charging after 8 pm so as to avoid peak power usage times.
Be sure to check to see if your vehicle already has these features as there is certainly no need to pay extra for features on a charger that your car may already offer.
Another thing to consider is the charging rate of your station. The best choice would be a station that charges at a rate that meets what your car can accept. There isn’t much point in paying extra for a charging station that exceeds the rate of power that your car can charge at, unless you are planning to upgrade your car in the near future.
Building a new home? Should you include an EV Charger?
When building a new home Town & Country recommends a minimum electric panel size of 200 amps. This allows you room to grow your electrical needs to install things like an EV charger. Your home can be built EV Ready or EV Capable. So what’s the difference:
EV Ready:
A parking stall that has an energized outlet capable of providing Level 2 charging.
EV Capable:
A parking stall with access/conduit to sufficient power supply for future Level 2 EV charging.
There are direct perks to adding EV charging during construction:
- Town & Country’s electrical team has the expertise to easily and safely complete the install.
- More economical to install during construction than to retrofit later.
- Future proofs your home.
- Adds value to your home.
Click below to get a quote from our electrical team.
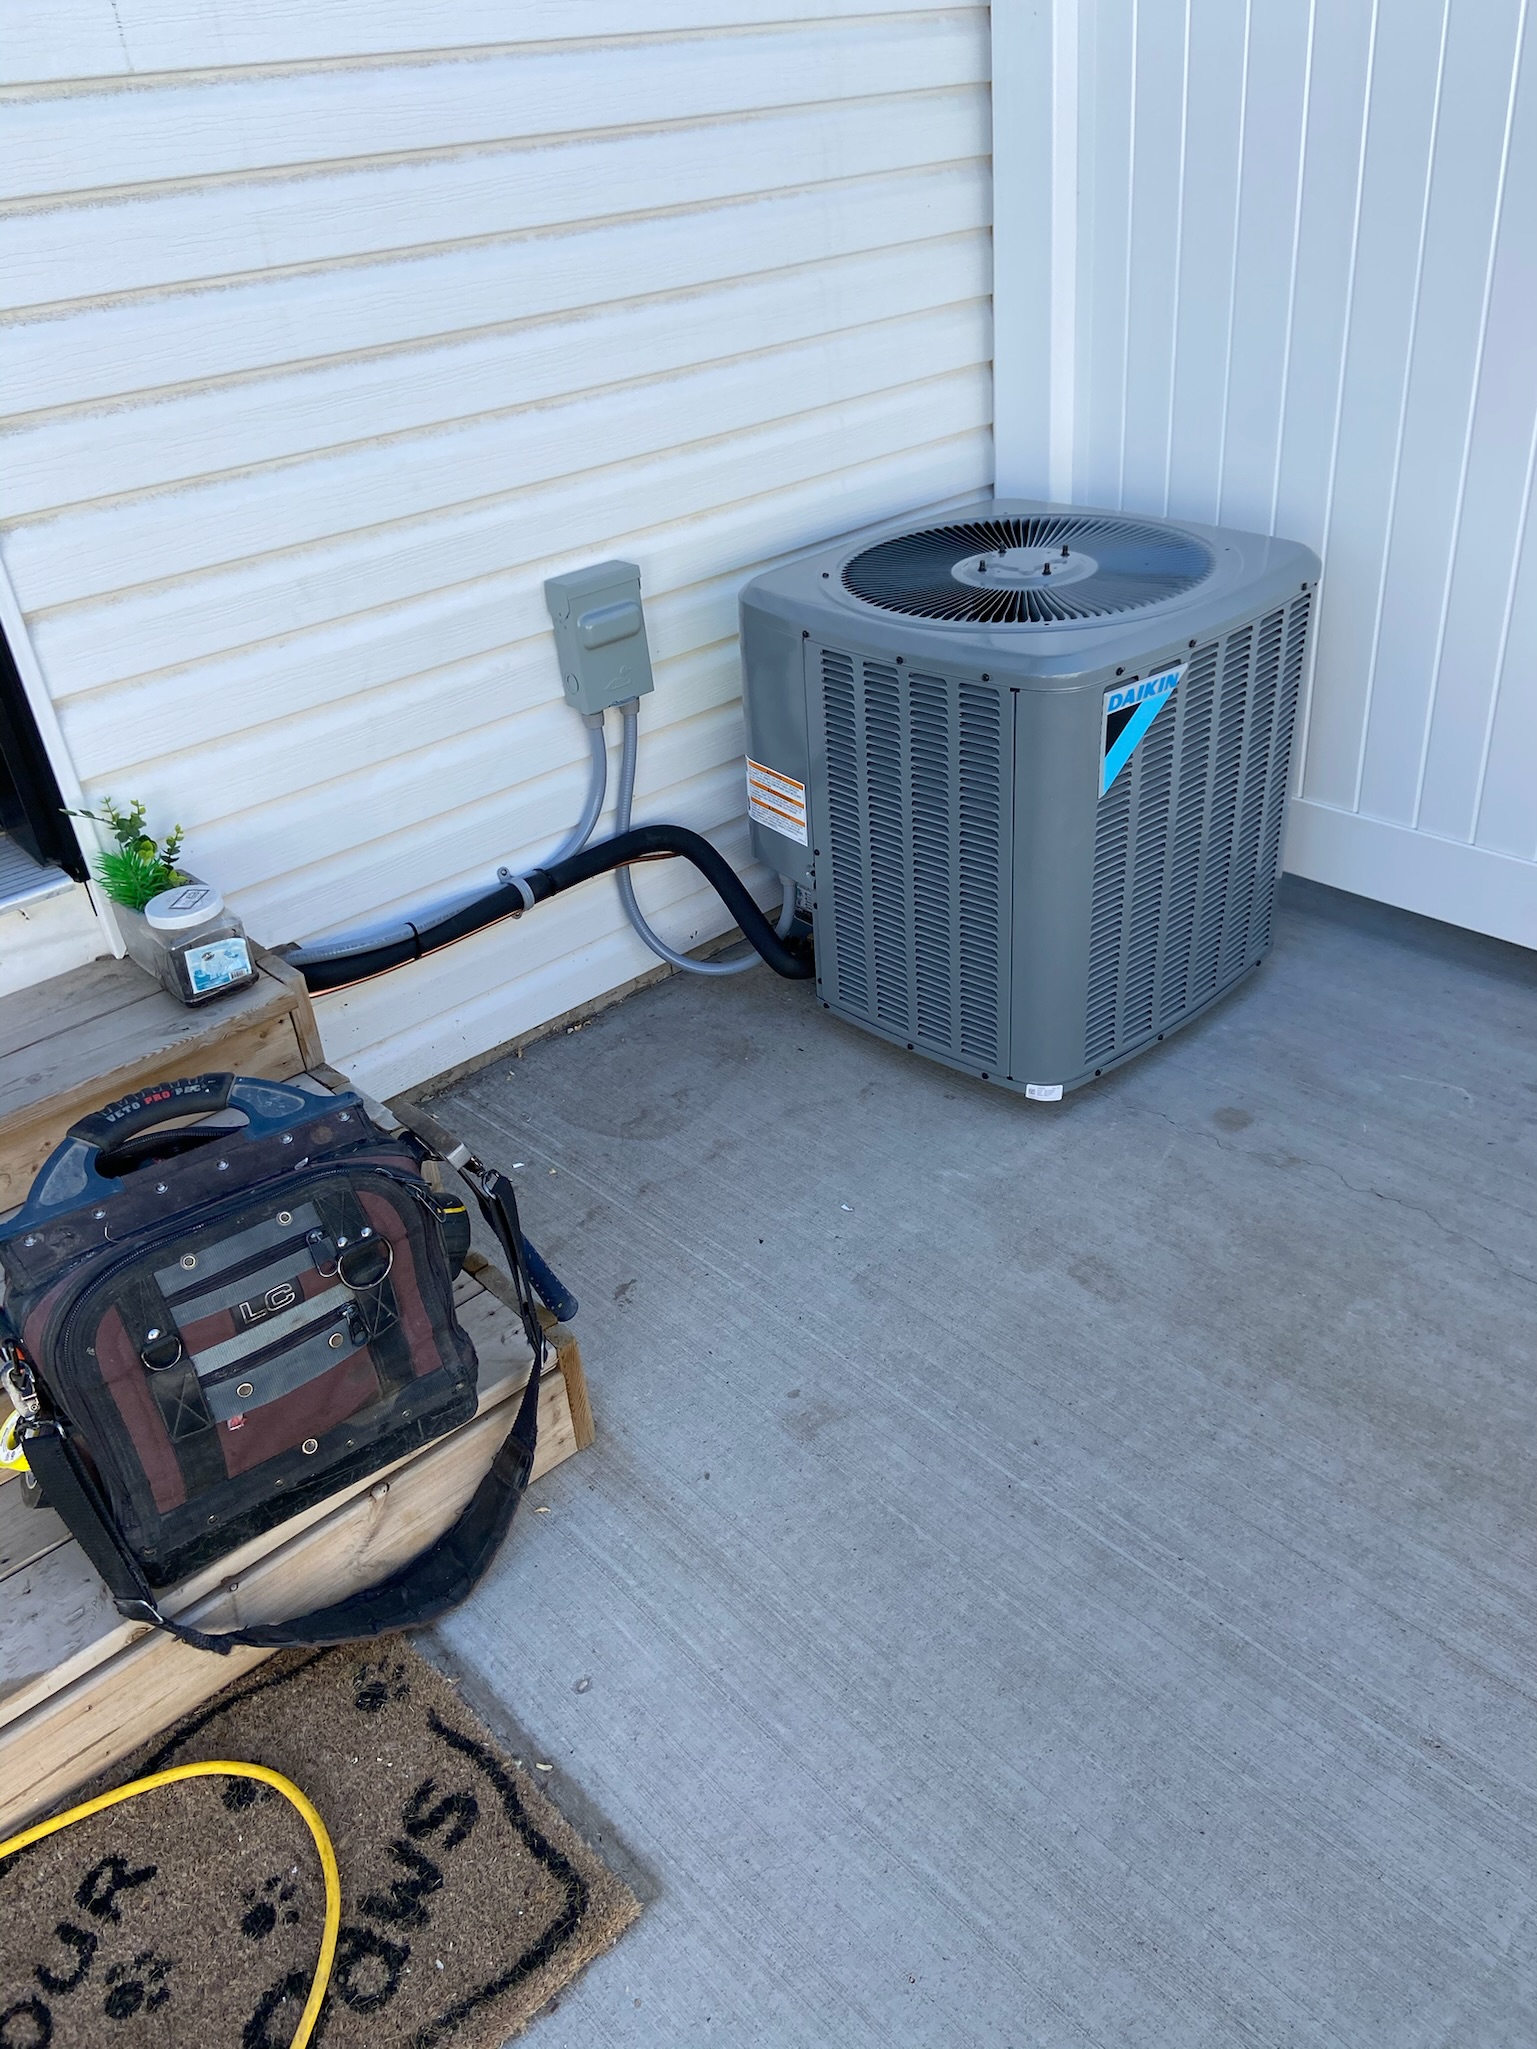
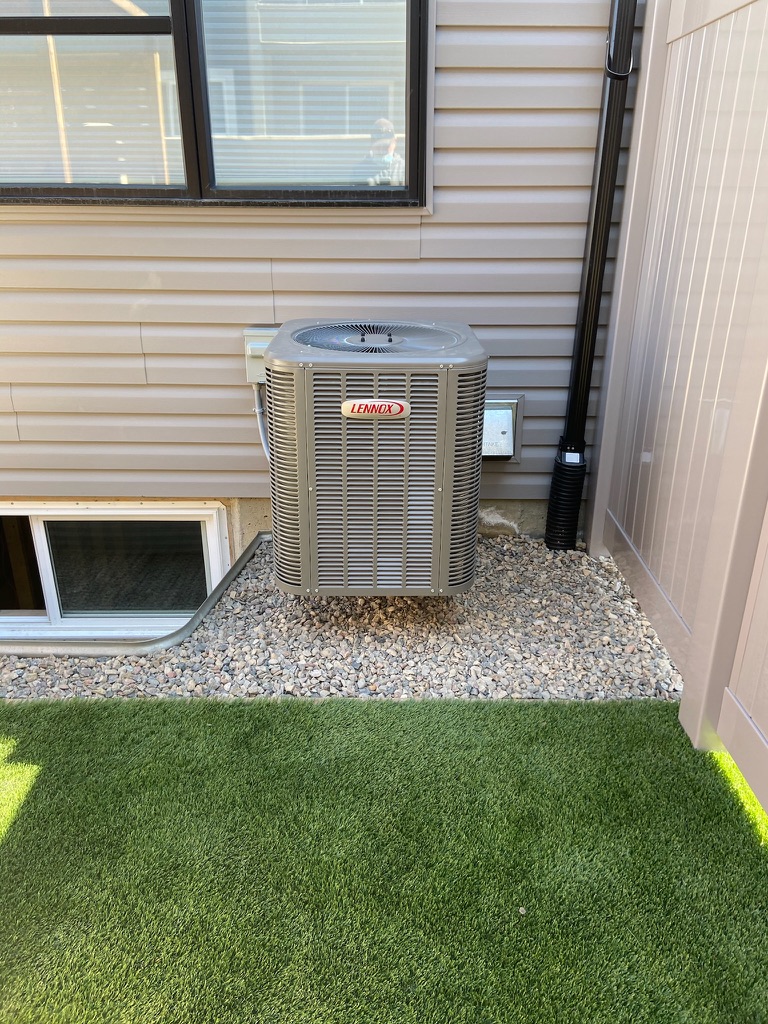
Choosing an Air Conditioner
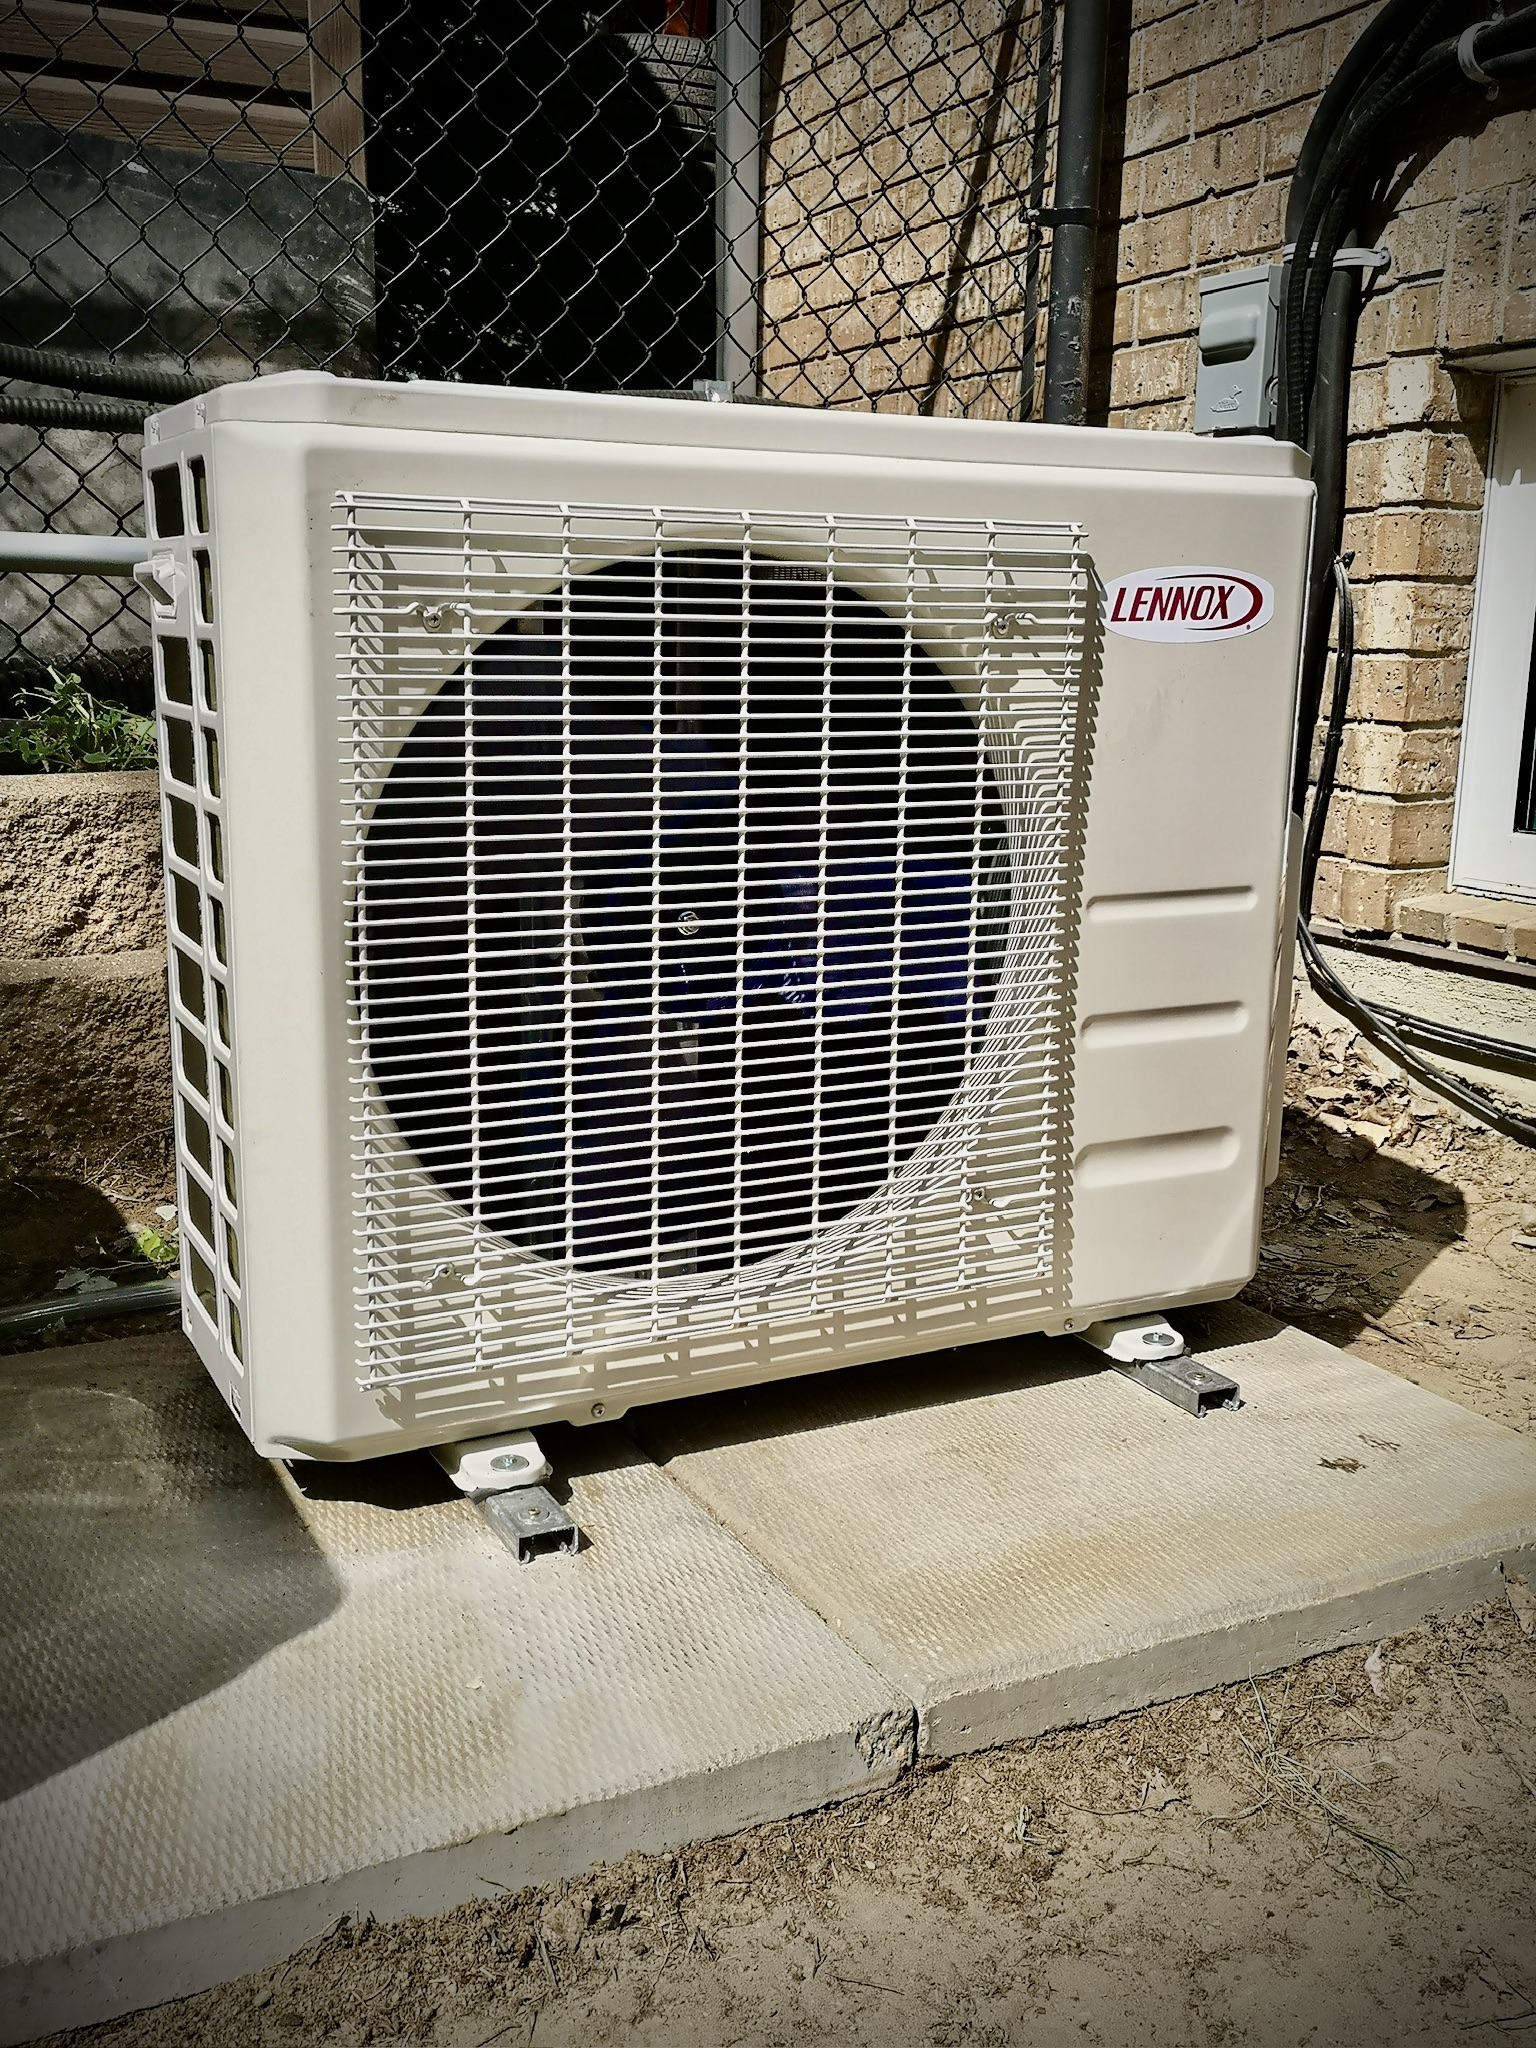
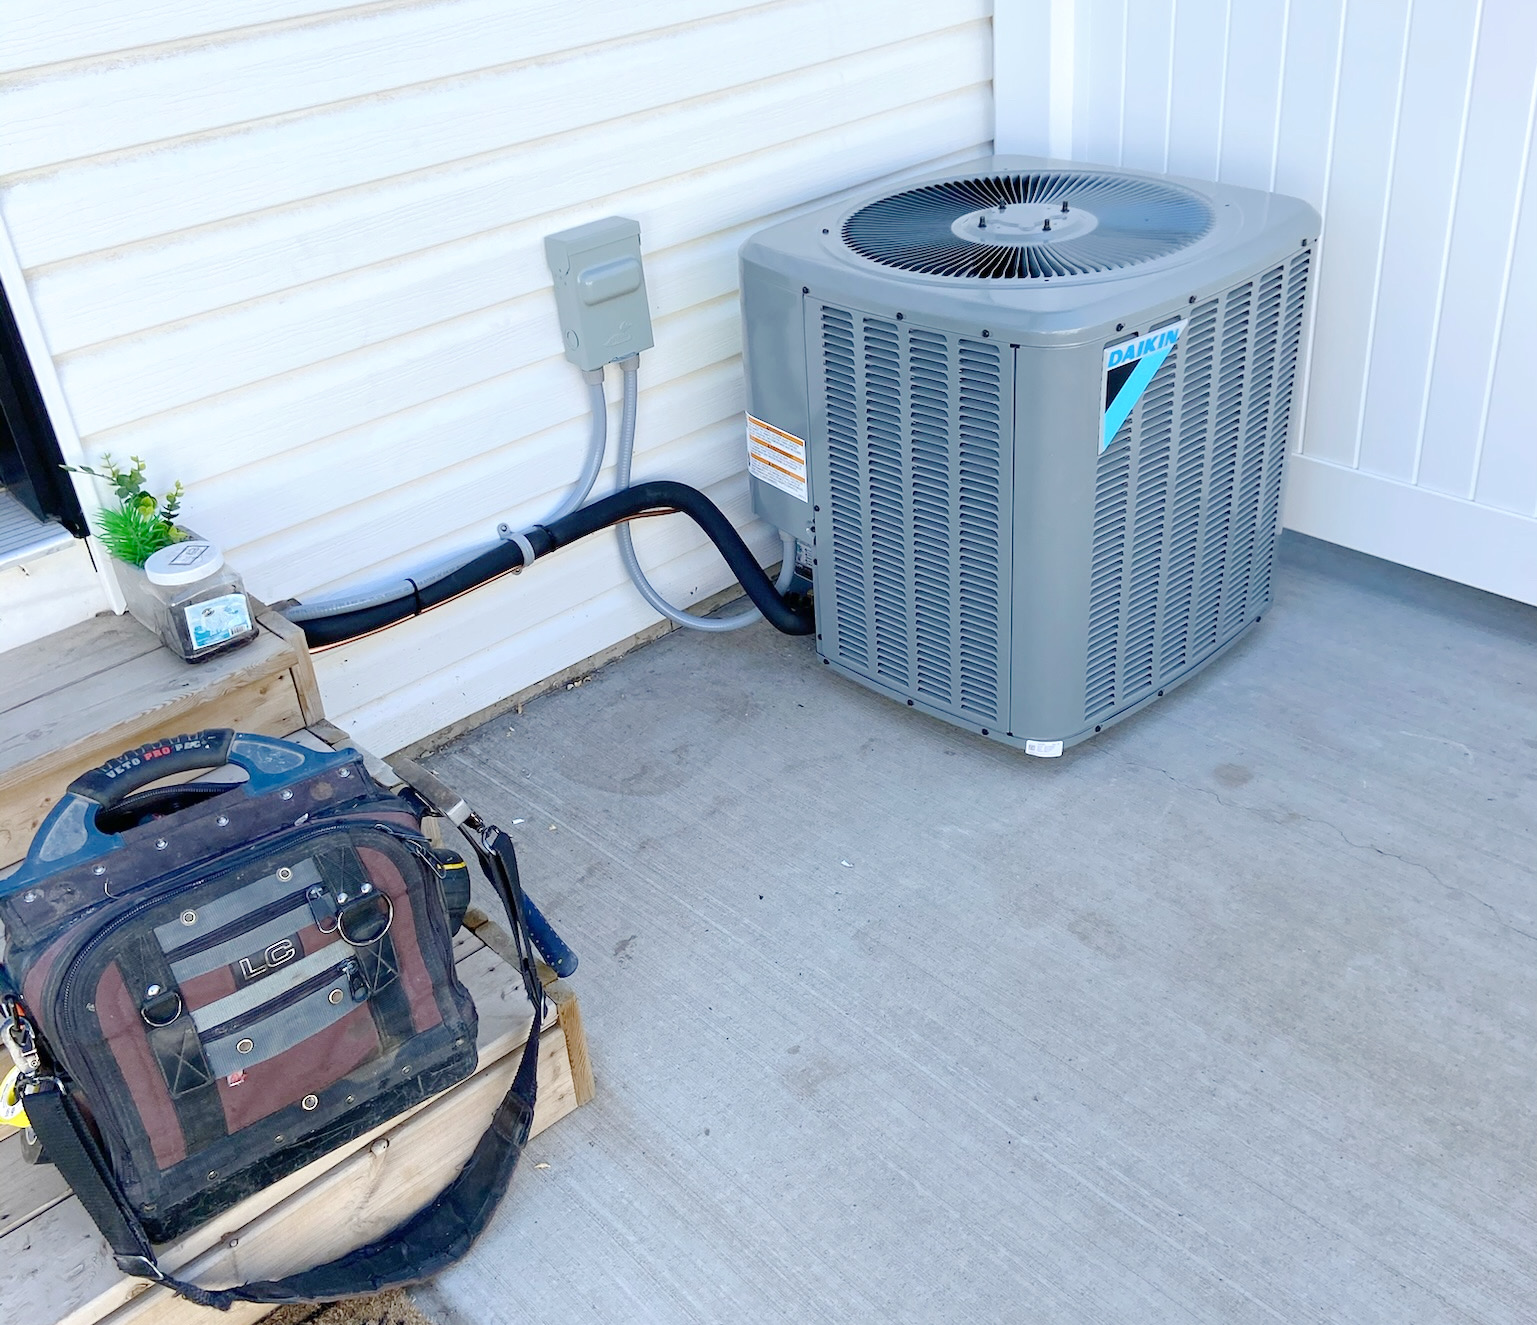
When choosing an air conditioning system for your home, Town & Country offers two main solutions. The first option, and the one most people think of, is a whole home cooling system. This system uses the current duct work to distribute cool air through the whole home.
The second option we offer is a mini split system. These systems have an outdoor unit as well as indoor units. The indoor units are placed where you want the cool air to be dispersed. These units offer the advantage of zoning and they don’t require duct work. That means that if your home uses a boiler and radiators for heat, you can take advantage of a mini split system to offer home cooling. Let’s explore these options a little deeper.
Whole Home Air Conditioning
As the name implies these units work to cool your complete home. This type of system is often referred to as central air conditioning. It consists of an outdoor unit and a coil that is usually installed above your furnace. Because these units use your furnace and your home’s duct work they are able to blow cool air throughout your whole home just like your furnace would blow warm air in the winter.
Advantages:
-Whole home is cooled
-Great cooling capacity
-Most cost effective solution
-Takes advantage of any air purification systems or filters that your home already has
-Good energy efficiency
-Efficiency can be further improved with a smart thermostat
Ductless Air Conditioning
These systems are often referred to as mini split systems because they consist of two main components. There is an outdoor unit and an indoor unit. The indoor unit is mounted on the wall of the room that you want cooled. It is usually controlled by a remote control. Each room that you want cooled has a separate indoor unit that allows you to have different temperatures in different rooms. So for example your children’s bedroom could be set at a different temperature than the primary bedroom. Or at night you could just cool your bedrooms for sleeping while allowing other rooms in the house to linger at warmer temperatures thus reducing the energy requirements.
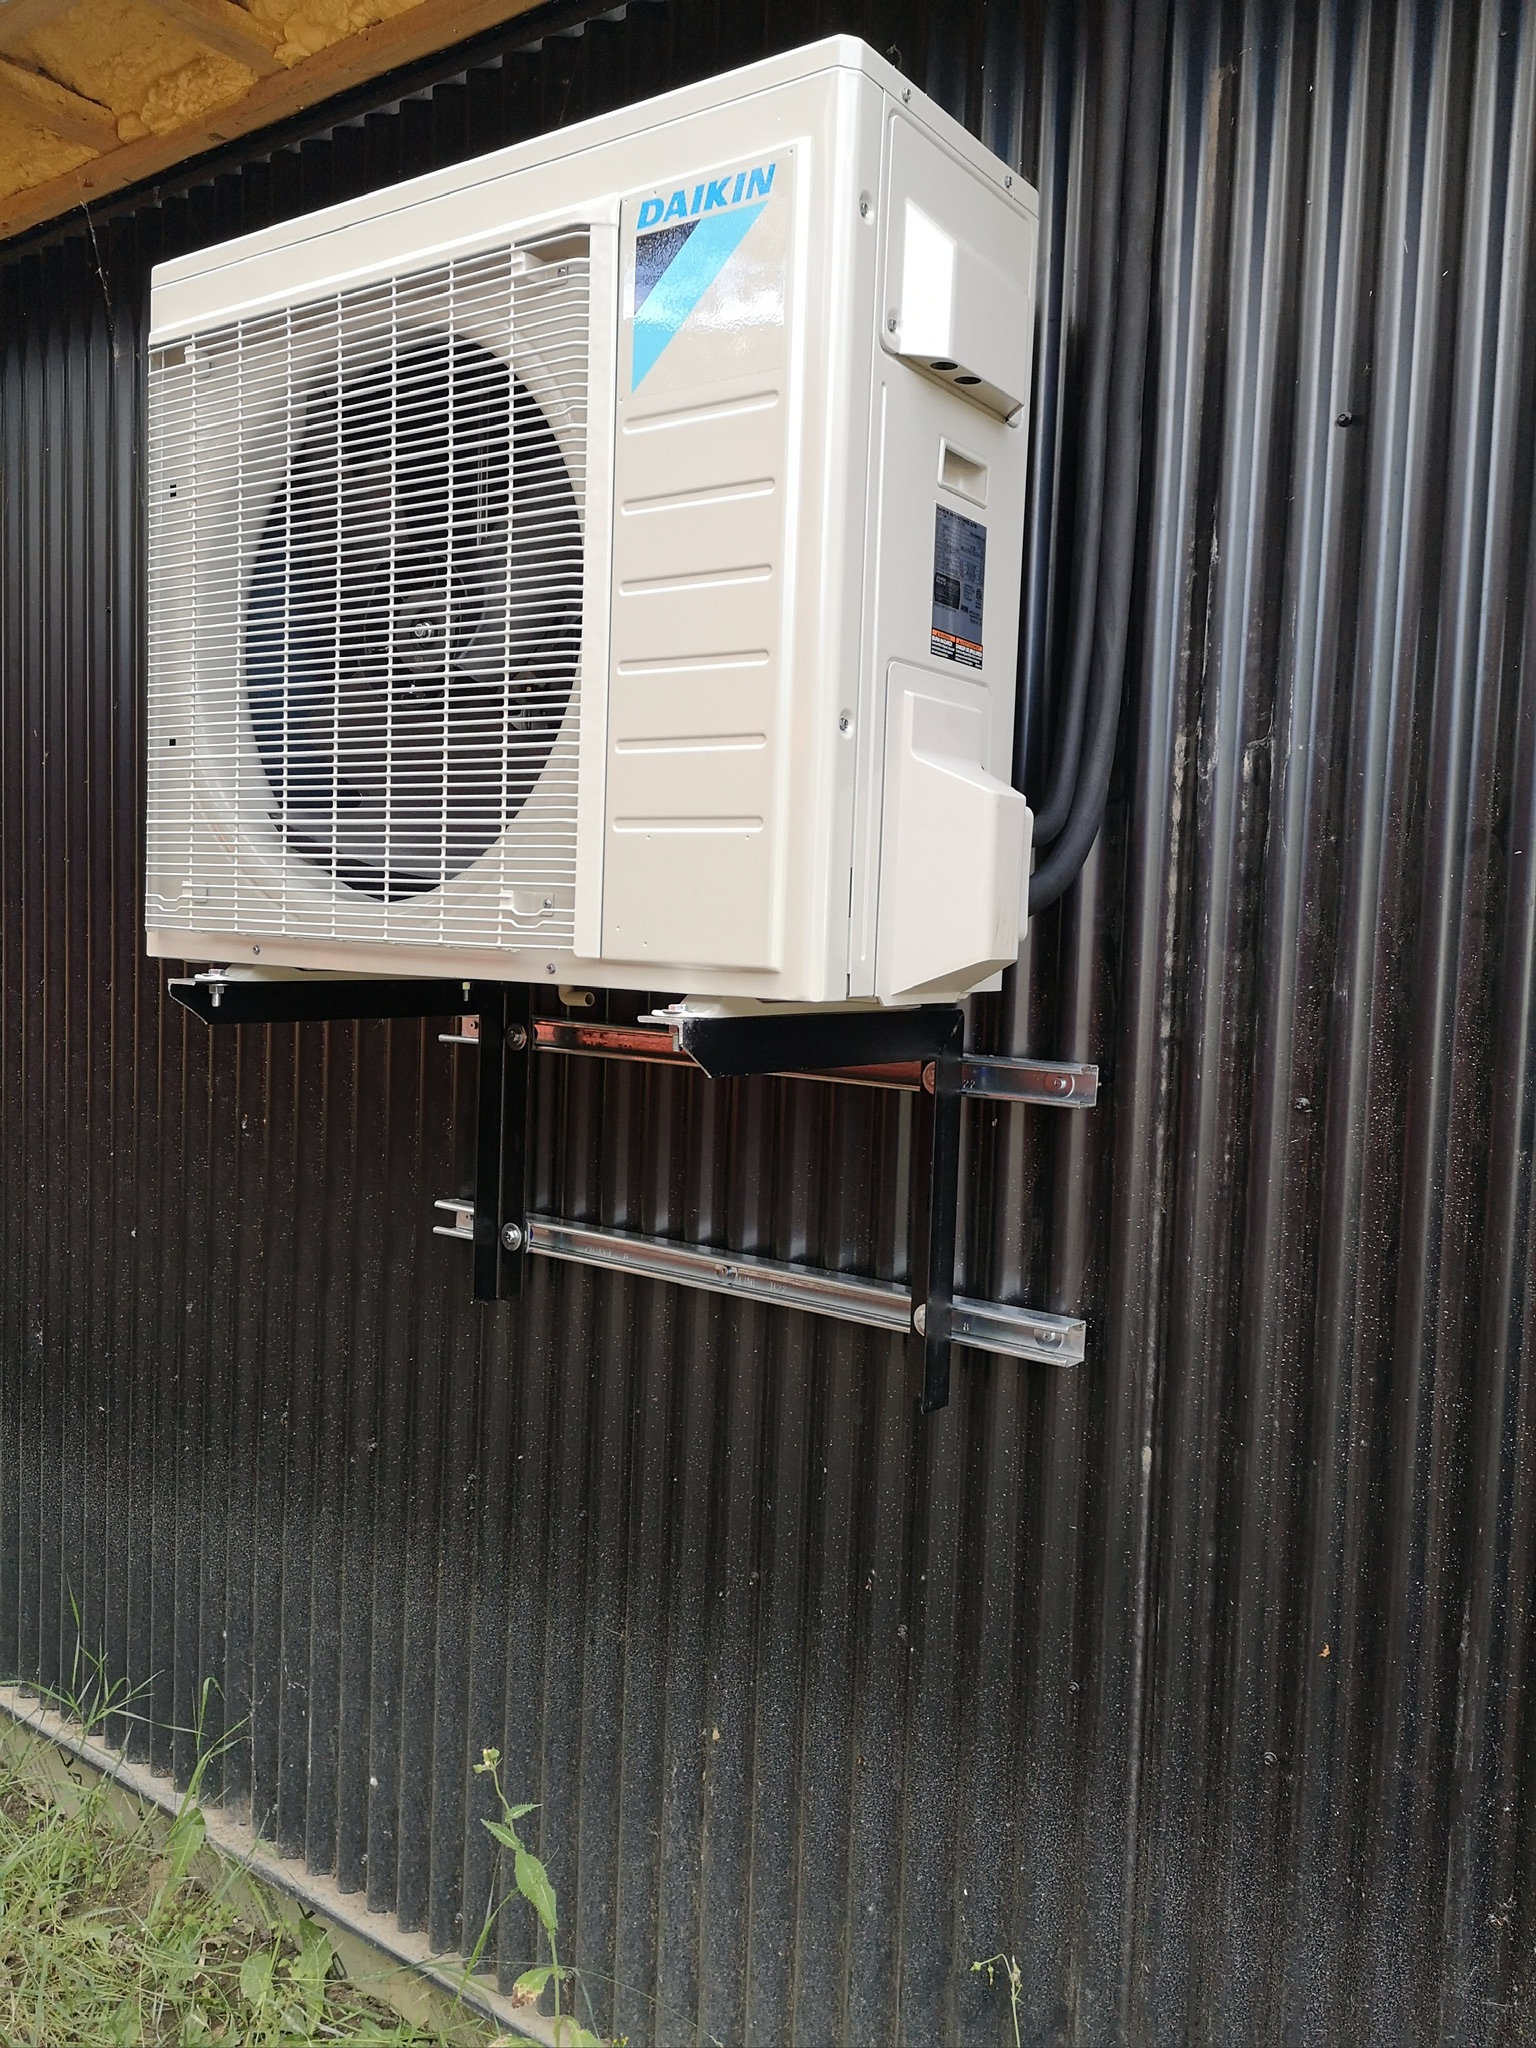
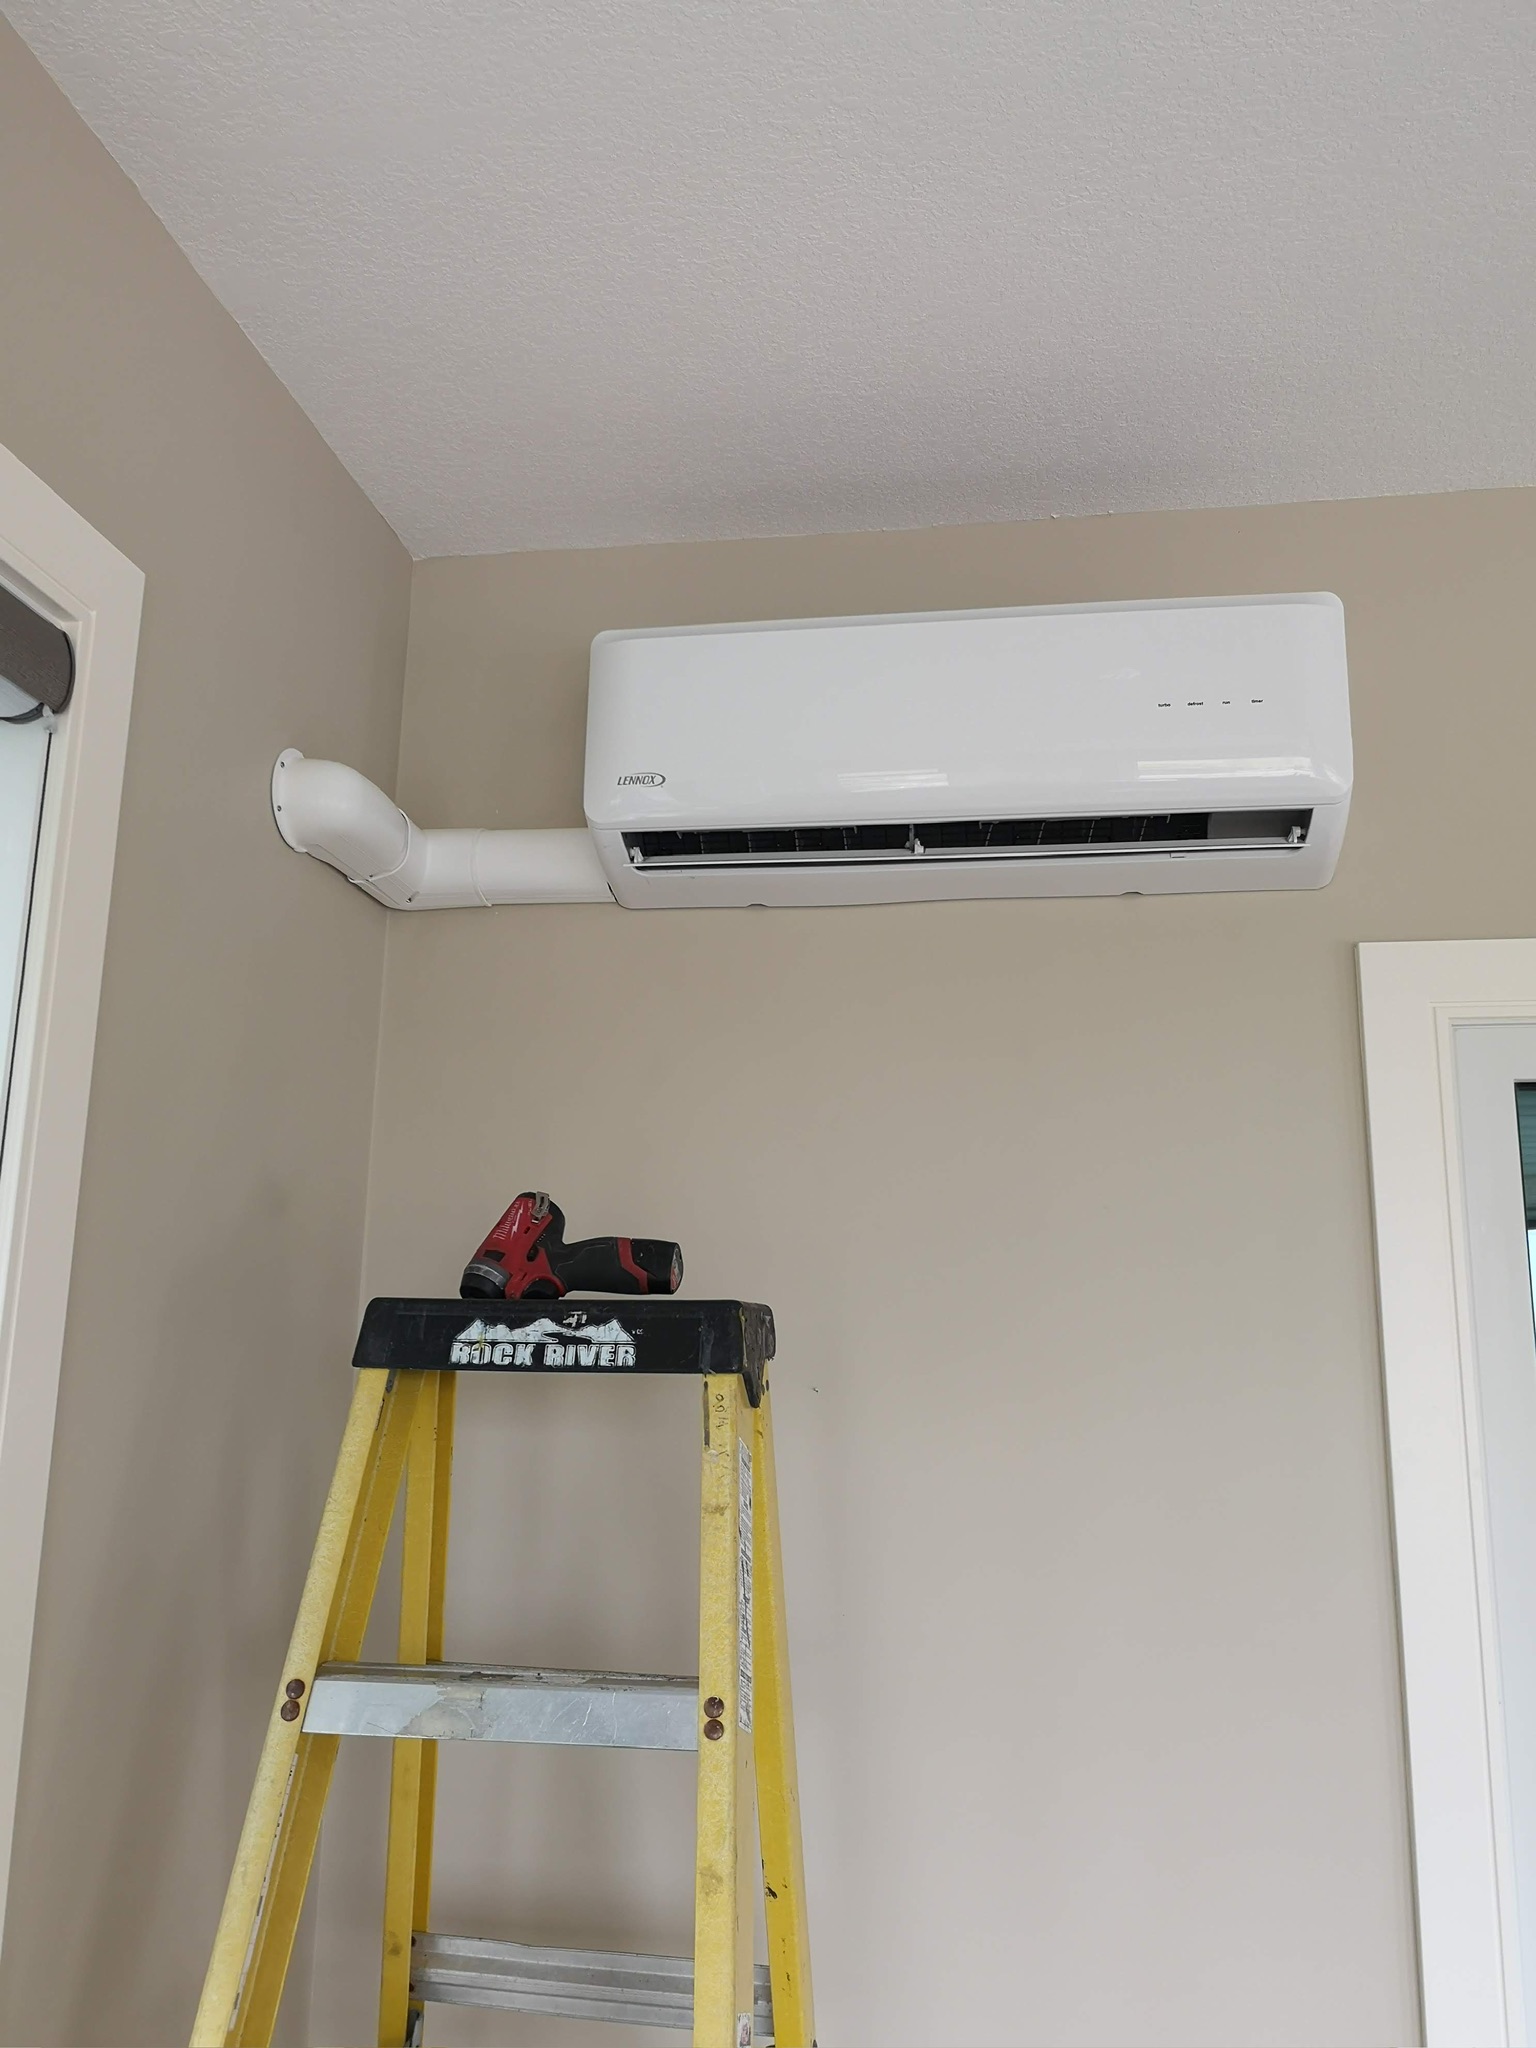
Advantages:
-Ductwork is not required
-Selected rooms are cooled
-Quiet
-Allows more control over the climate of individual rooms
-Cool bedrooms at night while rest of house is allowed to sit at a warmer temperature.
How to Choose
The primary factor that will weigh pretty heavily in the decision of how to cool your home will be whether or not your home has duct work. However, you could still choose a mini split system if you wanted to create some zoning or if you have an area of your home that doesn’t have duct work like an addition that perhaps has infloor heating. Whatever your needs are, our team will take the time to help you make the decision that bests suits your situation. You can give us a call or use the link below to request a quote. We’re your local experts.
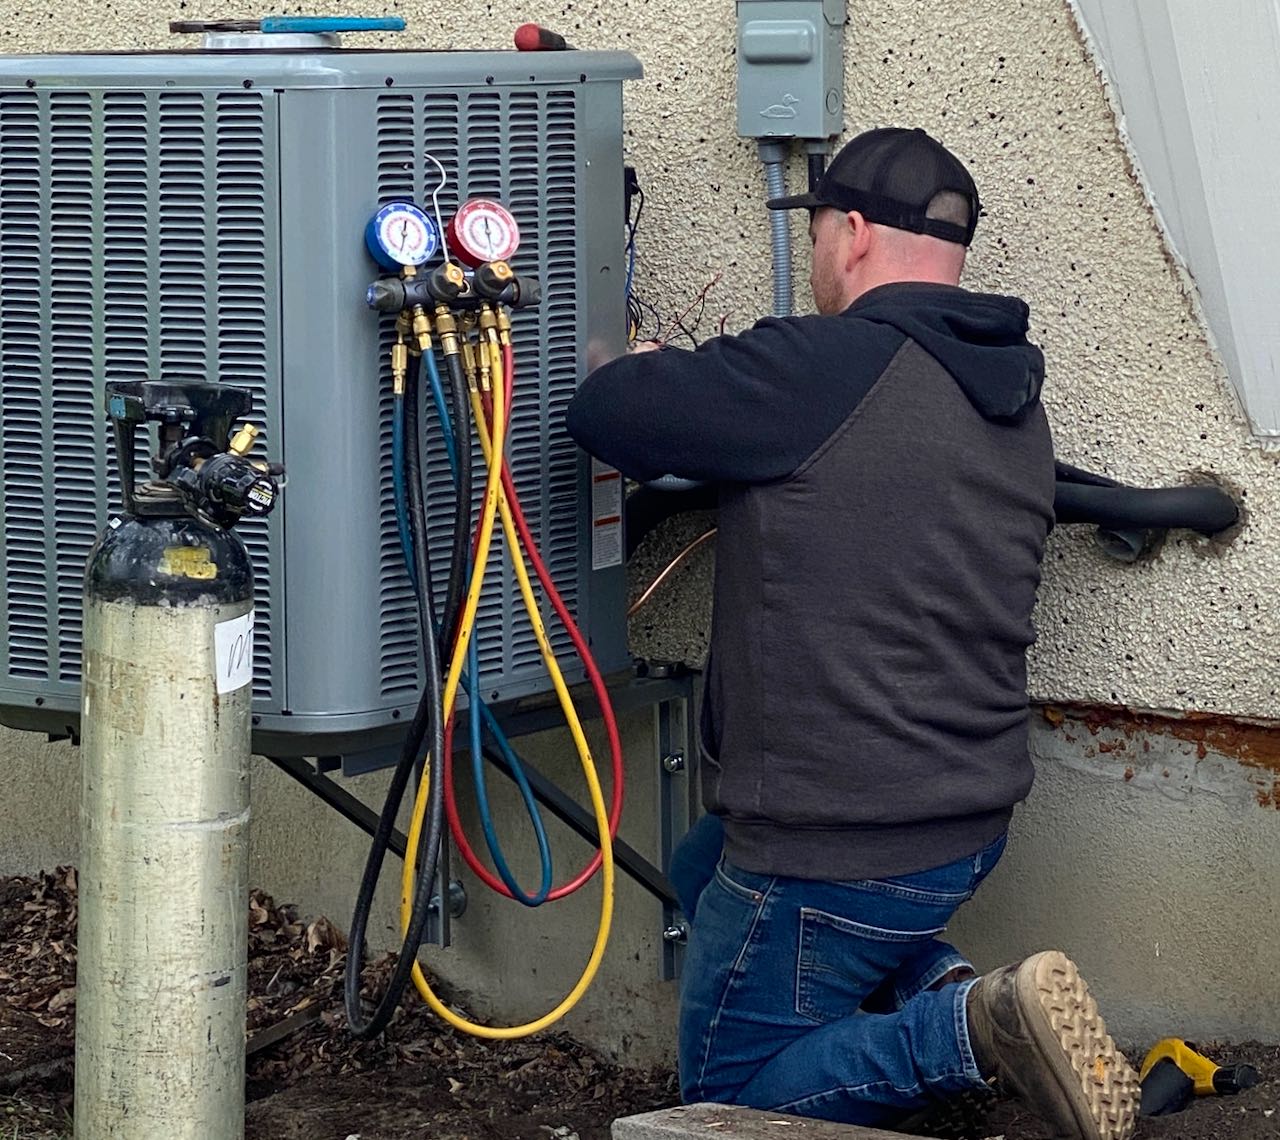
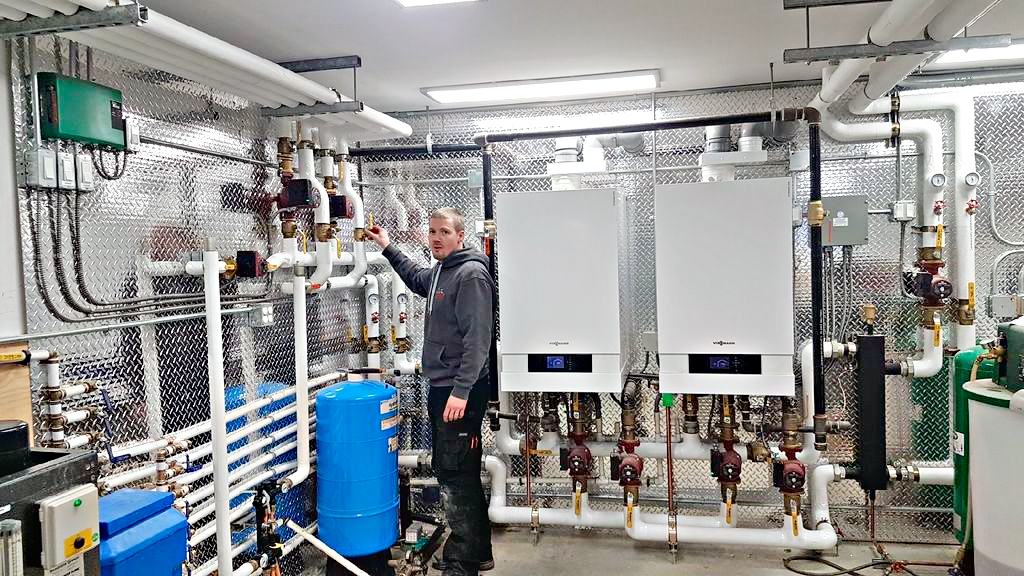
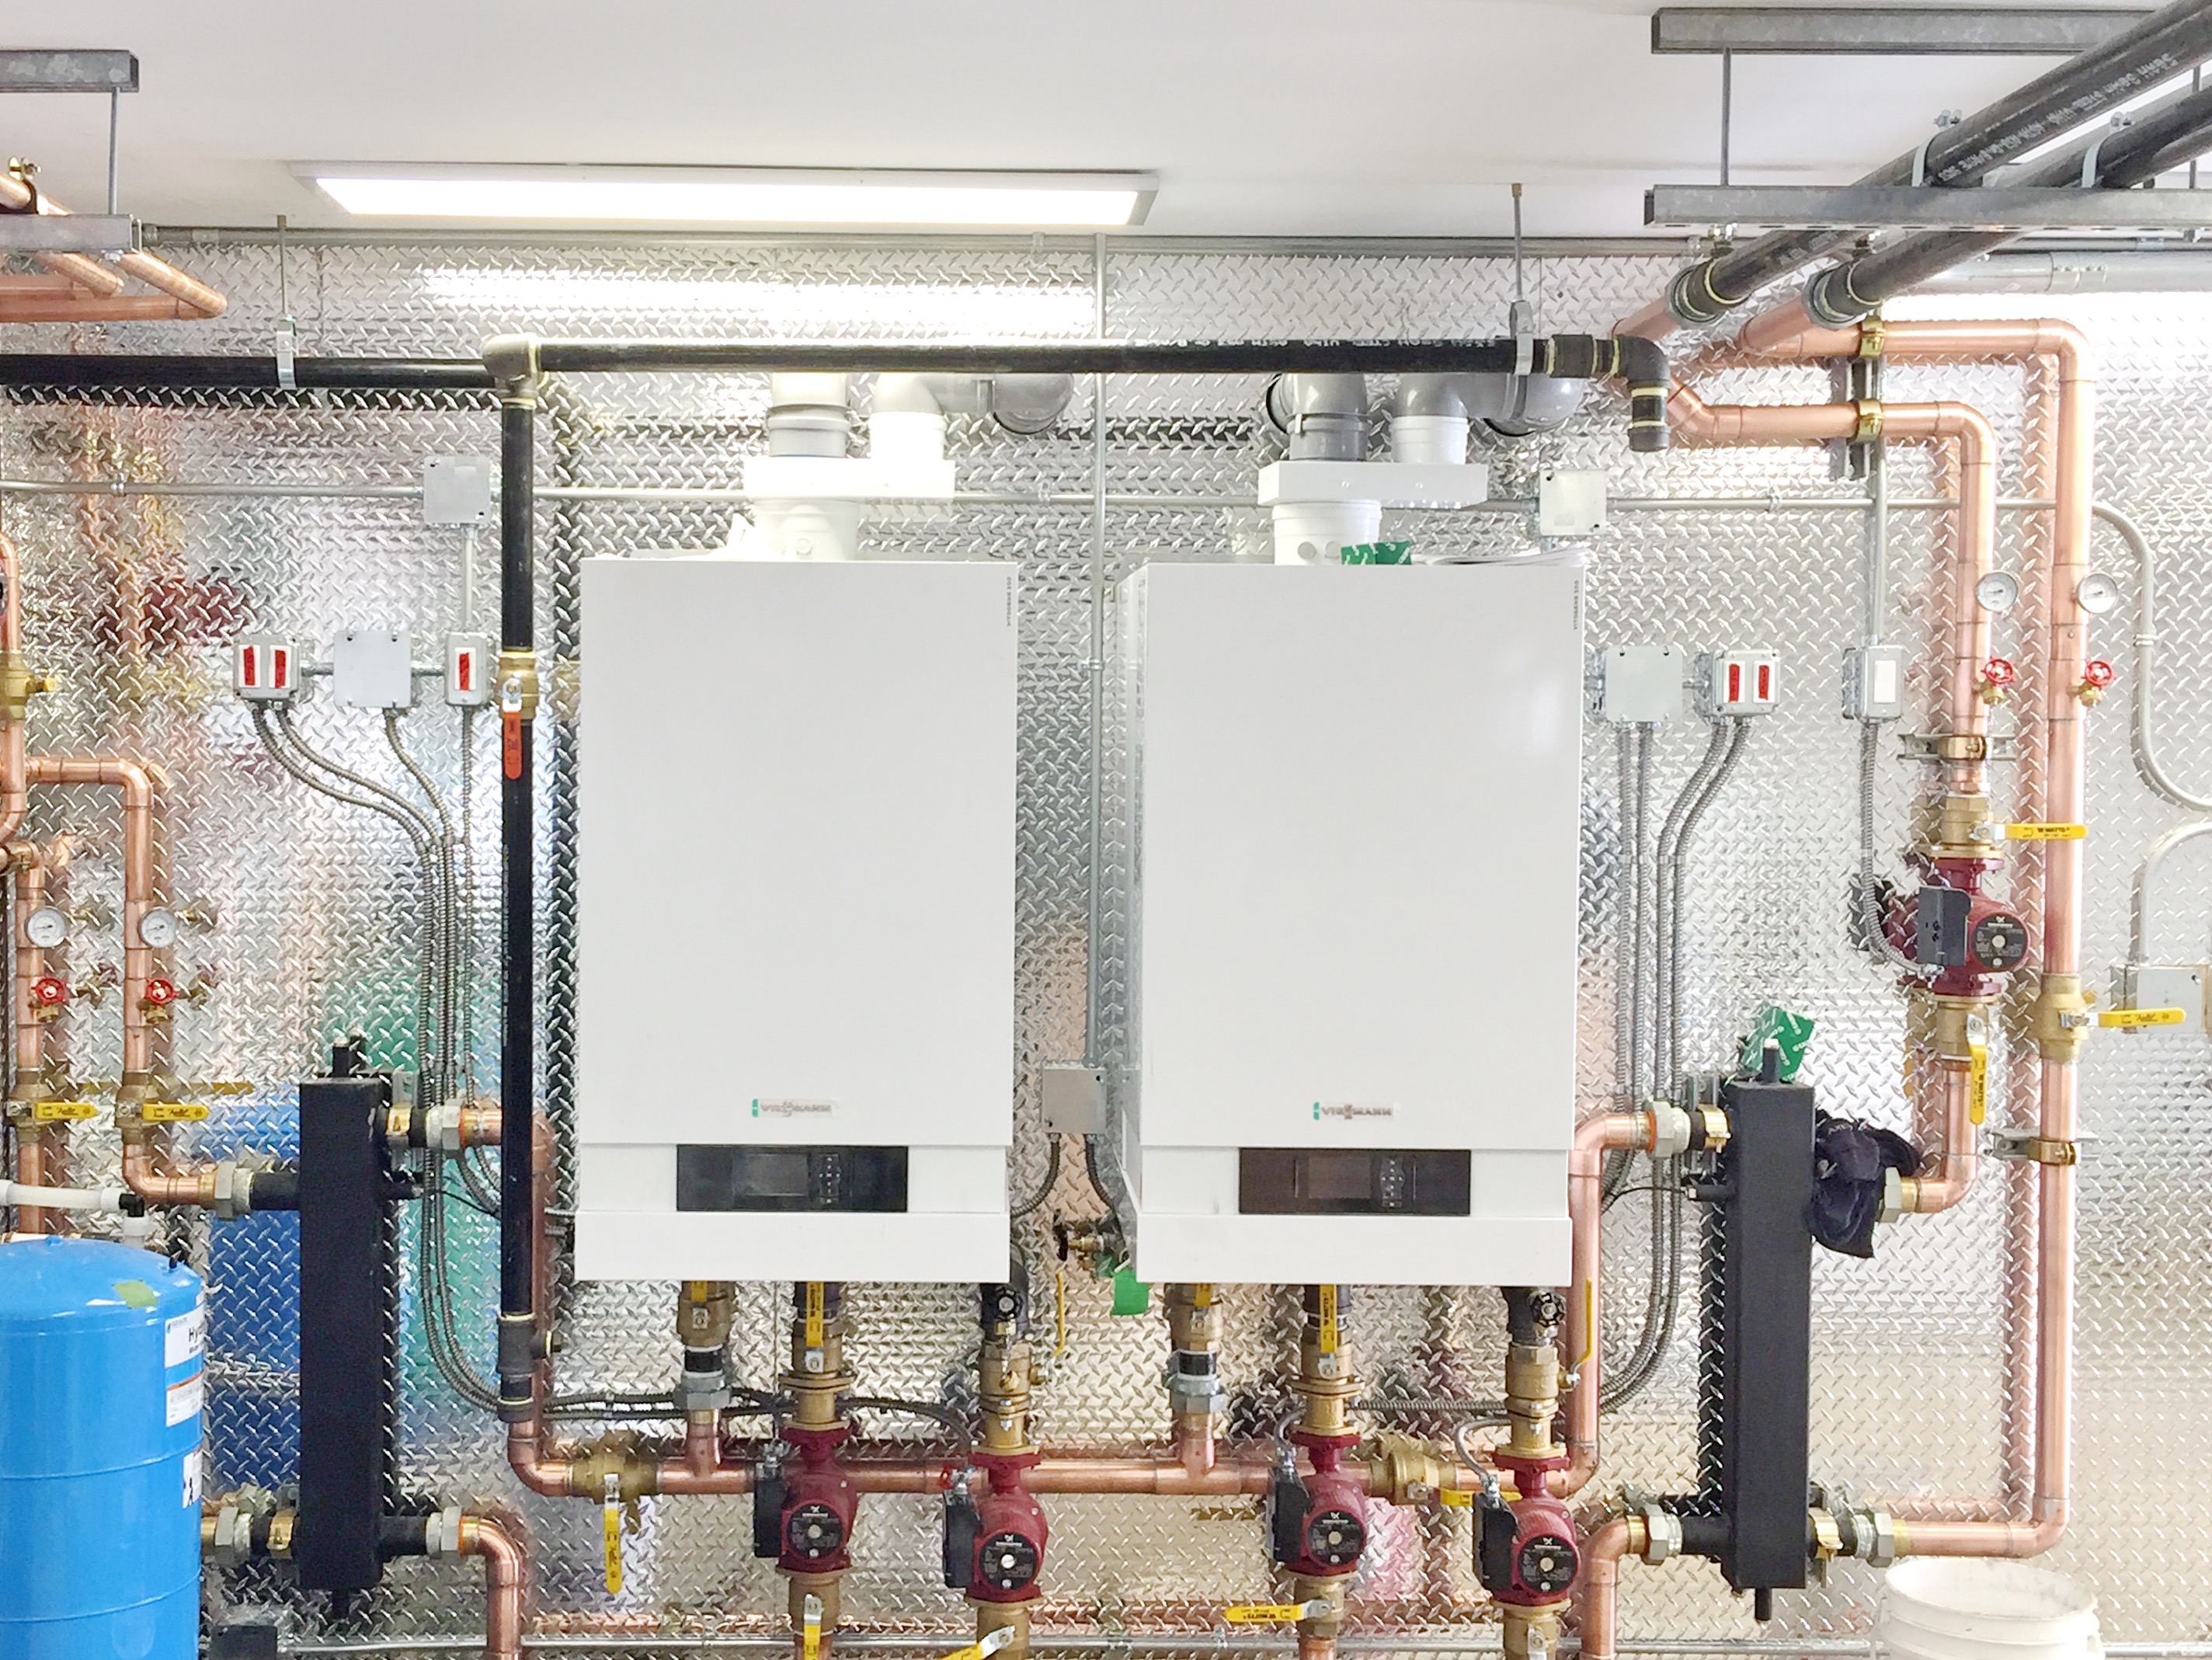
HVAC Maintenance
HVAC Tune-Ups
First of all: What does HVAC stand for?
HVAC is an acronym for Heating Ventilation Air Conditioning. It’s a term that is used to describe the complete system that is used to heat or cool your home or business while also ensuring the air you breathe is of high quality.
A typical home in Regina will have several components to the HVAC system. These will most likely include:
- Heating Unit: This is typically a furnace but may be a boiler.
- Cooling Unit: This is typically an air conditioner but may be a heat pump.
- Ventilation Elements:
- Ductwork: Channels that distribute air.
- Air Handler: Houses the blower that drives the air through the ducts.
- Registers and Vents: This is where air flow happens in each room.
4. Thermostat:
The brains of the HVAC system. This is where the temperature is set. Thermostats range from very simple devices to complex smart units that can even learn from your habits or presence.
5. Air Filters:
Filters help keep our indoor air perfect by capturing dust and pollens or other particles like pet hair.
6. Humidifier:
These units act to control our indoor humidity levels. During our dry winters humidity is added. Adjusting humidity in a home can greatly increase the comfort level.
7. HRV Unit:
Heat and Energy Recovery Ventilator These devices, more common in newer homes, make your home healthier and cleaner by continuously replacing stale indoor air with fresh outdoor air.
8. Radiators:
Some homes that use a boiler system for heating will have radiators located along walls in every room. When the radiators heat up they radiate warmth outward to heat the room.
As you can see that’s a pretty big list of equipment keeping your home comfortable and your indoor air perfect. As with any mechanical equipment, your HVAC system does require
Regular Maintenance
to keep it operating smoothly.
Benefits of HVAC Tune-Ups:
- Enhanced Efficiency: Cleaning, replacing filters, lubricating moving parts and ensuring proper airflow all add up to a more efficient machine which helps you save money on your energy bills
- Extended Lifespan: Your HVAC system is a big investment. Improve the lifespan of that equipment with regular maintenance.
- Better Air: Air quality is best when your HVAC system is running properly.
- Reduced Repairs: Preventative maintenance goes a long way in catching repairs early and preventing escalating costs.
- Improved Comfort: A well maintained system will provide you with the most comfort.
- Safety: Checking on electrical connections and gas lines regularly can reduce the risk of hazards like gas leaks, electrical fires, and carbon monoxide poisoning.
- Warranty: HVAC maintenance is typically a requirement for warranty. Failure to maintain a system properly can void warranty.
- Reducing your environmental impact. A well tuned HVAC system uses less energy.
T&C Air Conditioner Precision Tune-Up
- Check operation of thermostat, including calibration
- Test for refrigerant shortage
- Wash outdoor condensing unit
- Balance air flow for air conditioning
- Perform temperature drop at indoor coil
- Clean condensate lines and test operation
- Inspect compressor contacts
- Clean or replace standard filters
- Lubricate all moving parts
- Monitor start capacitor and potential relay operation
- Close down humidifier operation
- Measure and record amperage draw on compressor
T&C Furnace Precision Tune-Up
- Check operation of thermostat including calibration
- Perform carbon monoxide test and record readings
- Inspect venting for rust and leakage
- Test all safety controls
- Check combustion and ventilation air
- Clean burners and pilot, Adjust for proper combustion
- Clean flame sensor and record flame signal
- Check all gas fittings on valve train for leaks
- Clean and flush condensate lines, including pump
- Clean heat exchangers
- Remove and clean blower
- Perform temperature rise on heat exchanger
- Clean or replace standard air filters
- Lubricate motors as required

T&C Boiler Precision Tune-Up
- Check operation of thermostat including calibration
- Test all safety controls
- Inspect venting for rust and leakage
- Clear burners and pilot, adjust for proper combustion
- Clean flame sensors and record reading
- Perform carbon monoxide testing on ambient air in the boiler room
- Inspect fire bricks and insulation
- Check all gas fittings on valve train for leaks
- Examine heat exchanger and combustion chamber
- Lubricate pump and motors
- Check condition and operation of expansion tank
Back Up Generators
Why would you even consider a Back Up Generator?
In the event of a big power outage in the middle of winter, things can get a little sketchy. Your furnace will stop working and the temperature in your home will gradually drop. Depending on how cold it is outside the temperature could drop quickly. In the summer, power outages are also an inconvenience with the primary problem being food refrigeration. Problems with flooding can also occur as sump pumps are not being powered up. If you don’t have a BBQ or a gas range you may also find yourself without a method to cook your food.
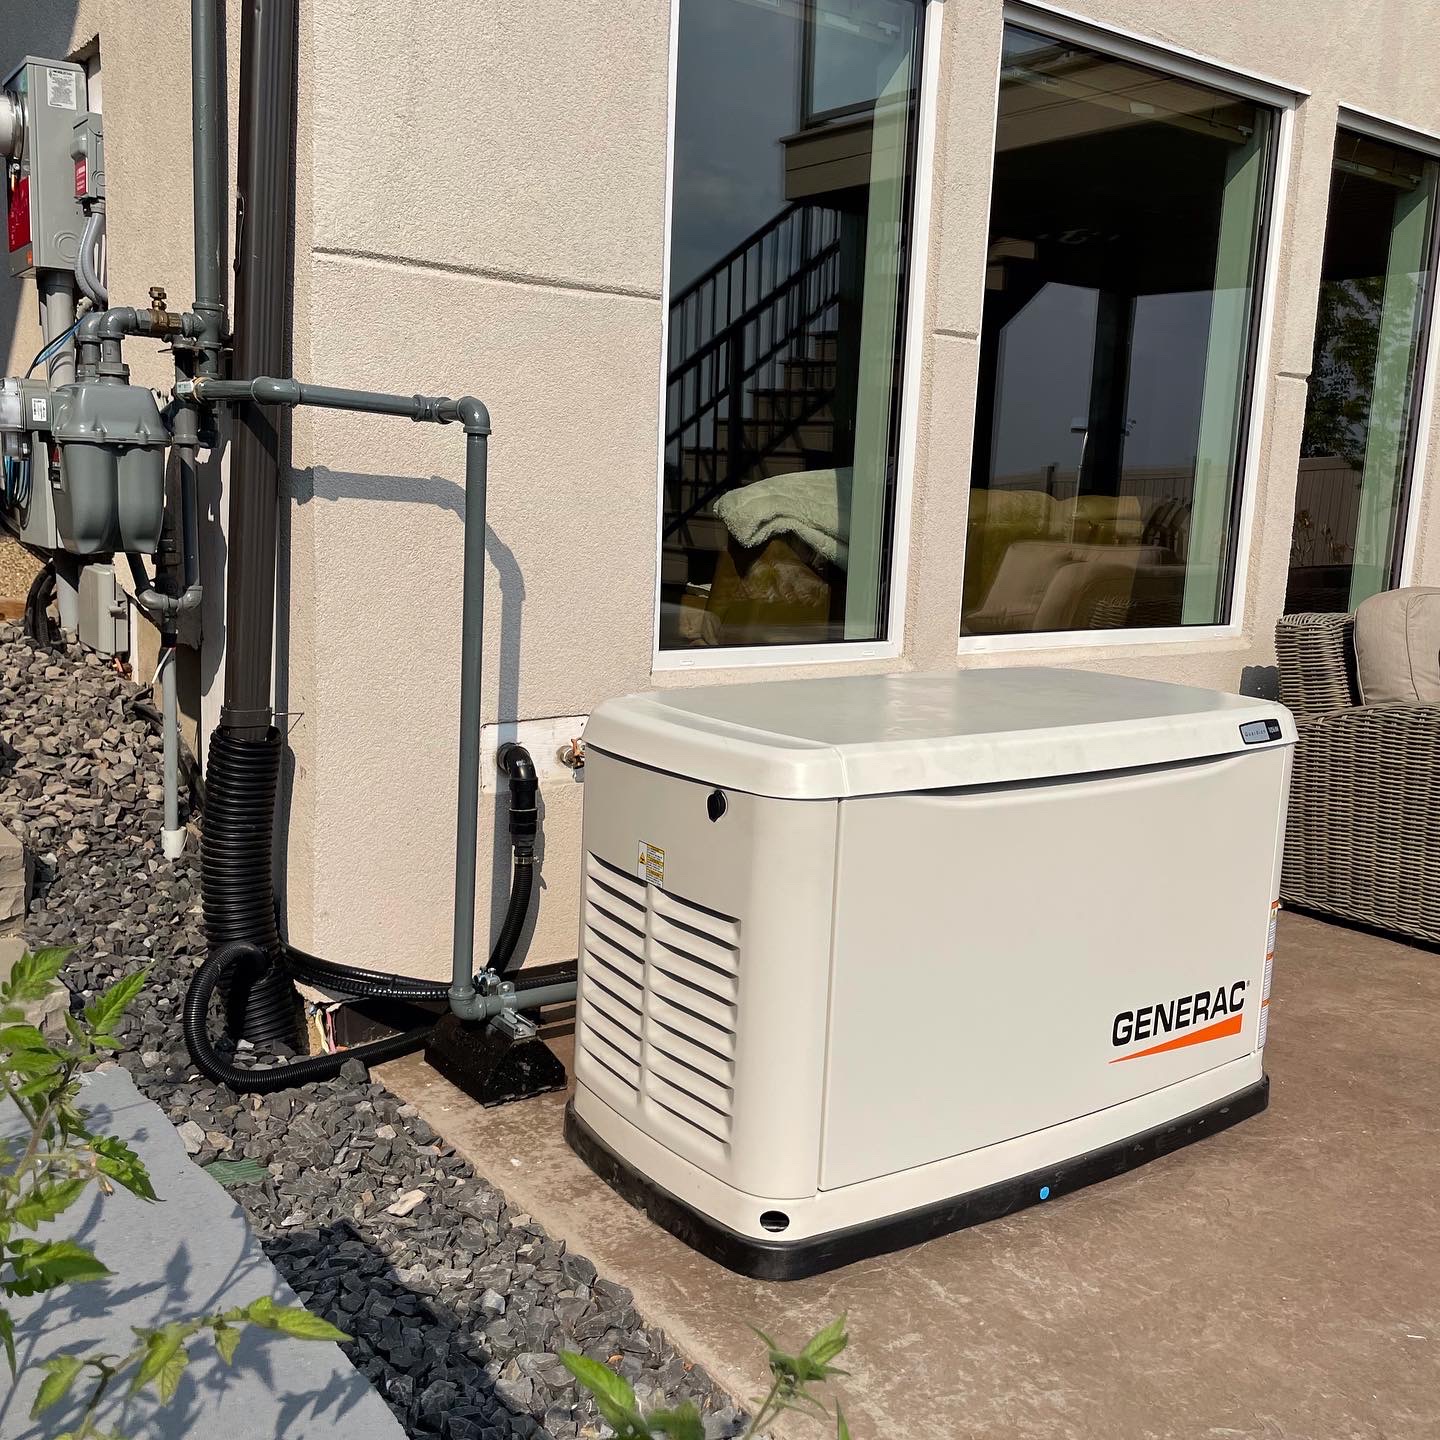
3 Reasons for a Back Up Generator
- Peace of Mind
- Business continuity
- Safety and Security: Keeps your critical systems running.
Modern back up generators offer customized solutions allowing you to choose the right size to meet your requirements and budget. They are fully automatic so that when the power grid goes down they kick in, using natural gas to safely keep your home powered up to the level that you feel you need.
Have questions? Click Here
